
In the previous part of this tutorial, you got your own Flutter app running in one sitting. But one of the coolest things about flutter is that it’s a multi-platform framework. So I am sure you want to see it running on an actual device. We are going to start by installing it on an iPhone.
Before getting started
To complete this second part, you will need a Mac computer. This restriction comes from Apple, not Flutter. If you do not have a Mac, you can try running macOS on a virtual machine.
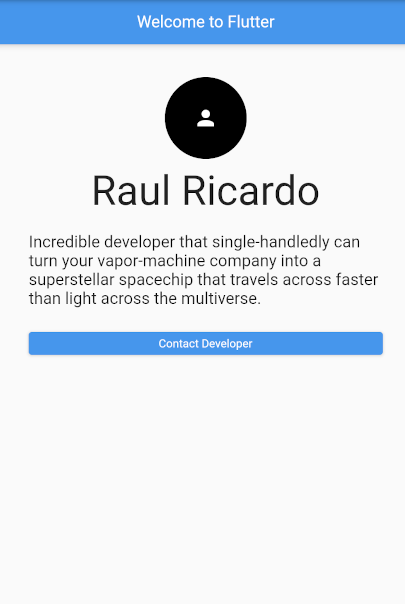
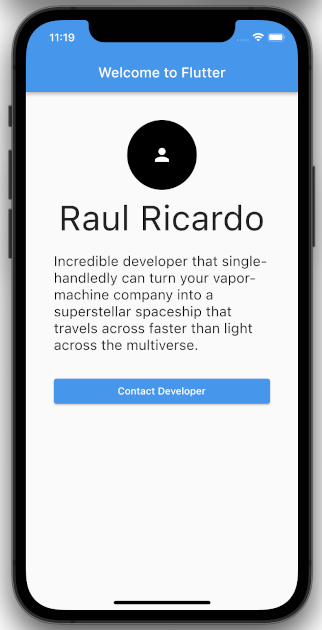
We are going to start where we left off. So far, we had a welcome screen that outputs some text to the console when you tap on the Contact Developer Button. You can check the first part of the tutorial here and get the complete Dart code here.
Flutter is multiplatform, but you still need to do some platform-specific configuration to run it on a real device or a simulator.
Running our app on iOS
Have in mind that to run this beauty on an iOS device, you need a Mac. This is an Apple requirement, more than a Flutter restriction. If you are working on a Mac, good for you, now you just need to install XCode.
To install XCode you just go to the Mac App Store and look for it.
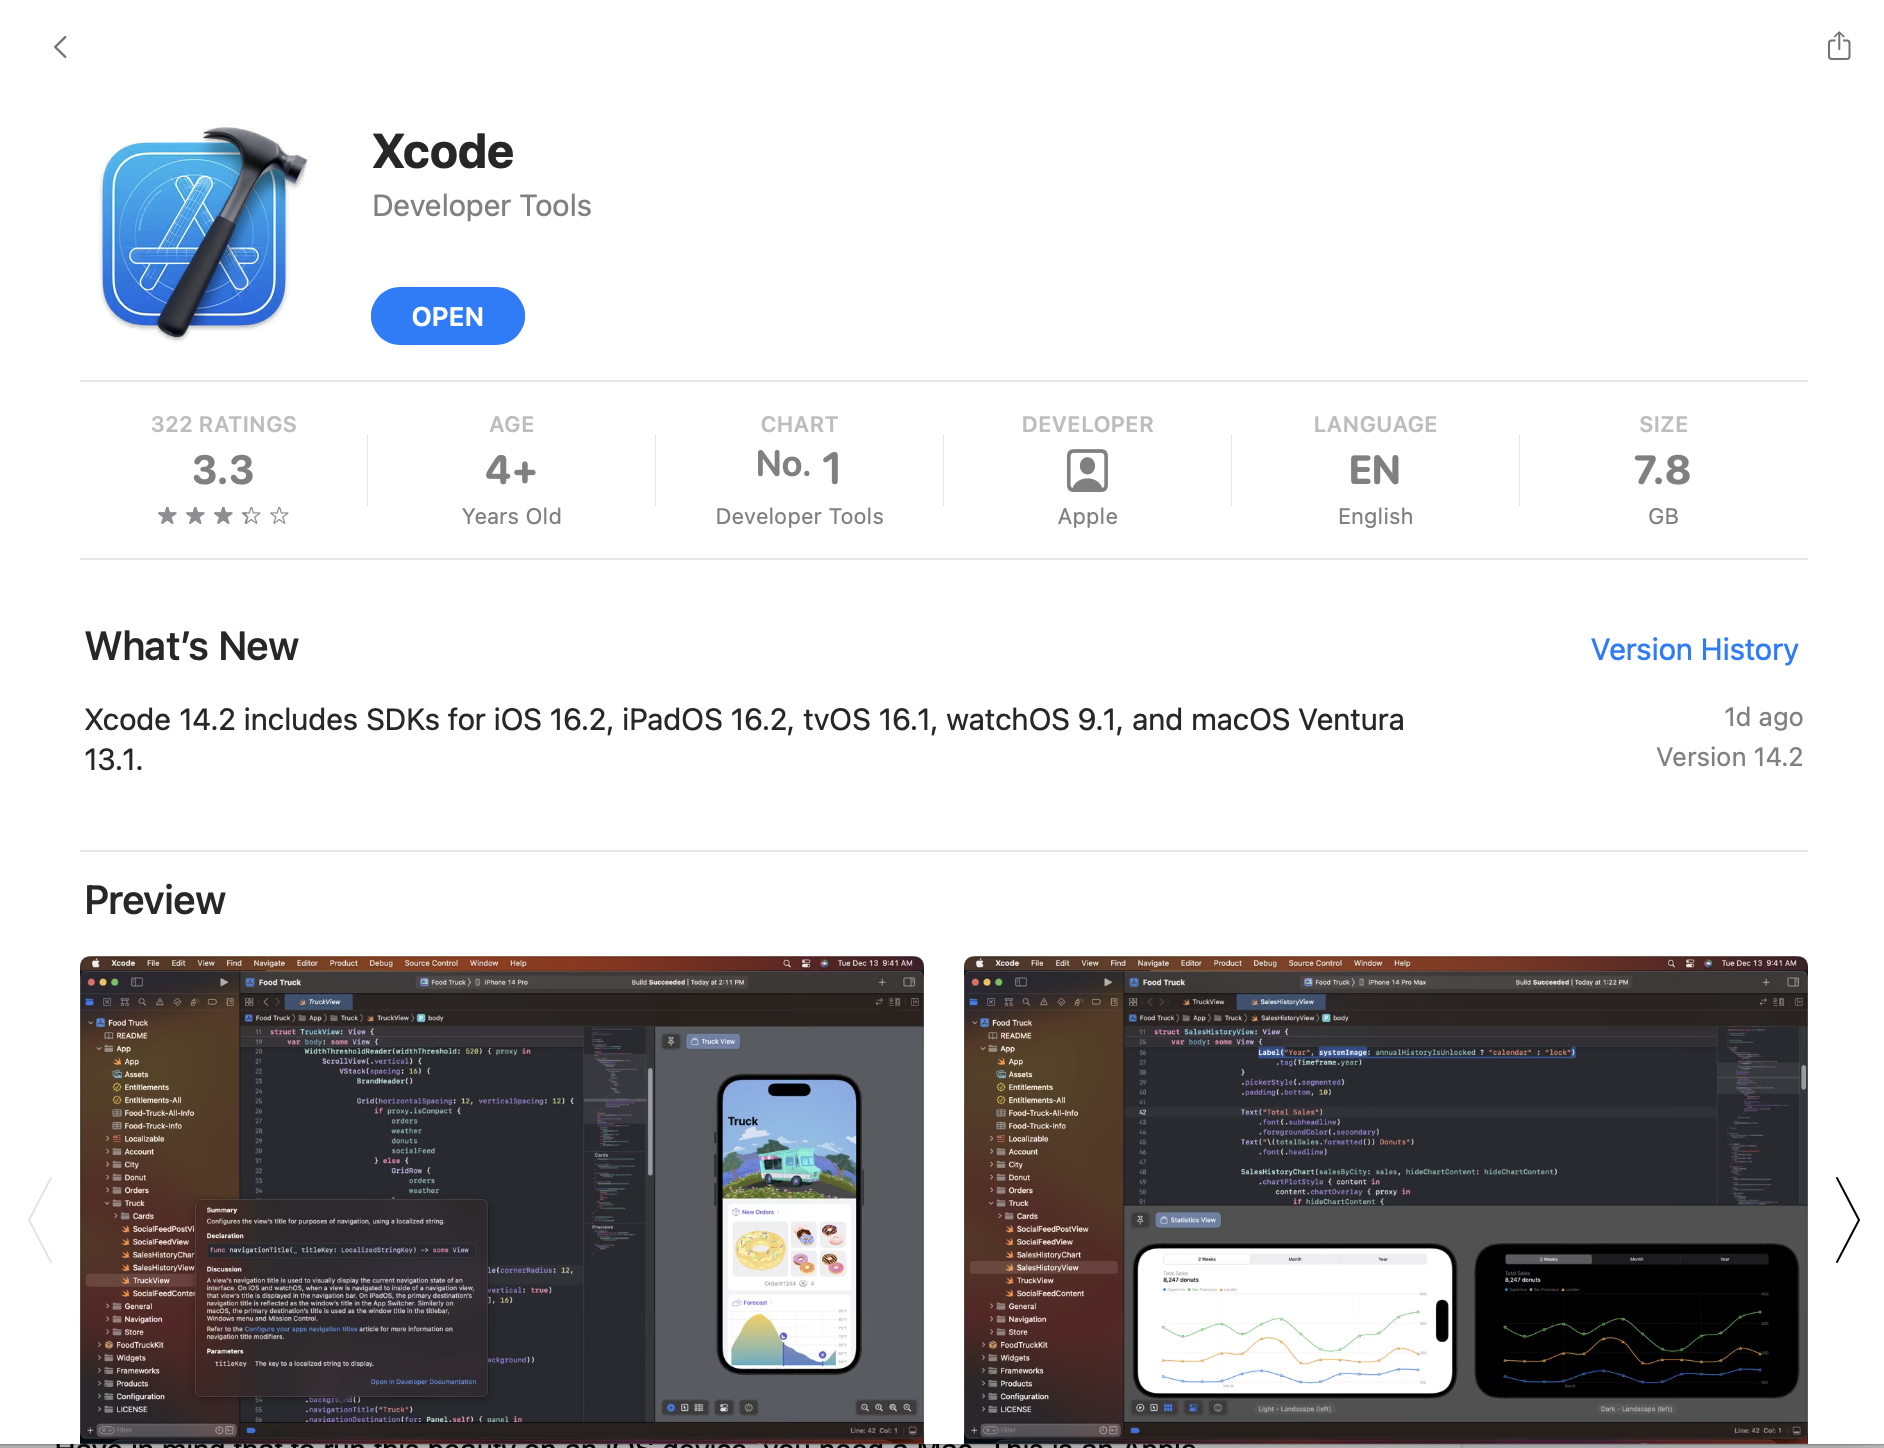
If you don’t have it installed, the blue button text will be “Get” instead of “Open”.
Don’t worry if it takes a long time, as you can see, Xcode it’s huge (more than 7Gb) so remember to make some room on your hard drive for it. After installing Xcode, run the following command on the terminal:
sudo xcode-select --switch /Applications/Xcode.app/Contents/Developer
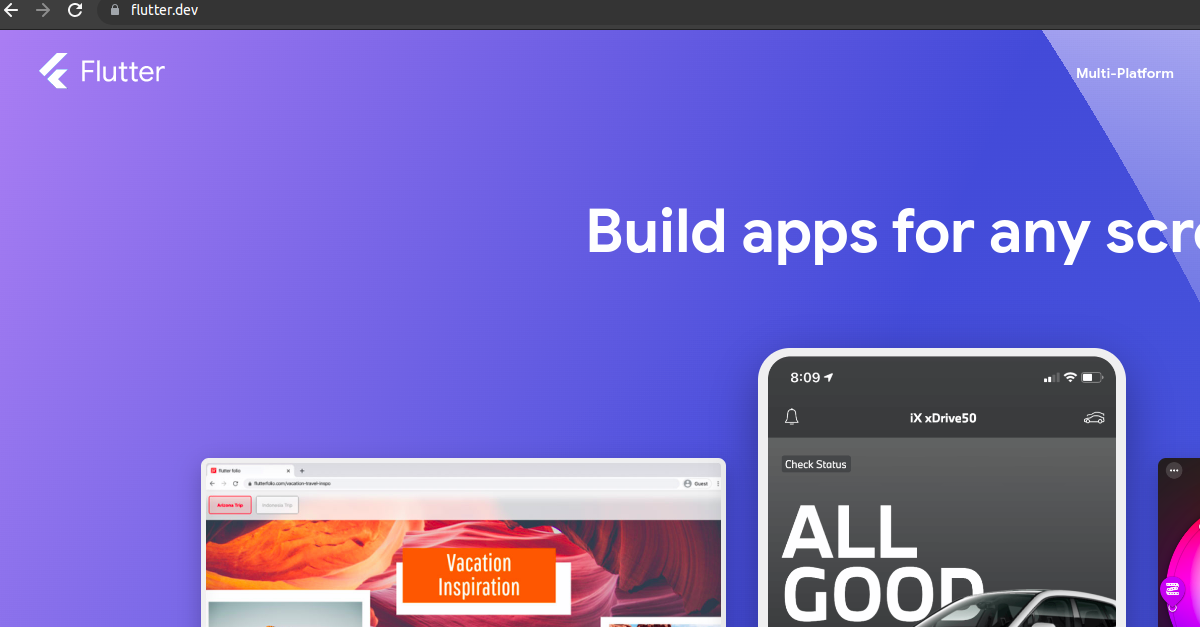
Now, let’s install flutter. Go to this link and download the corresponding version for your mac (Intel or Apple Silicon).
https://docs.flutter.dev/get-started/install/macos
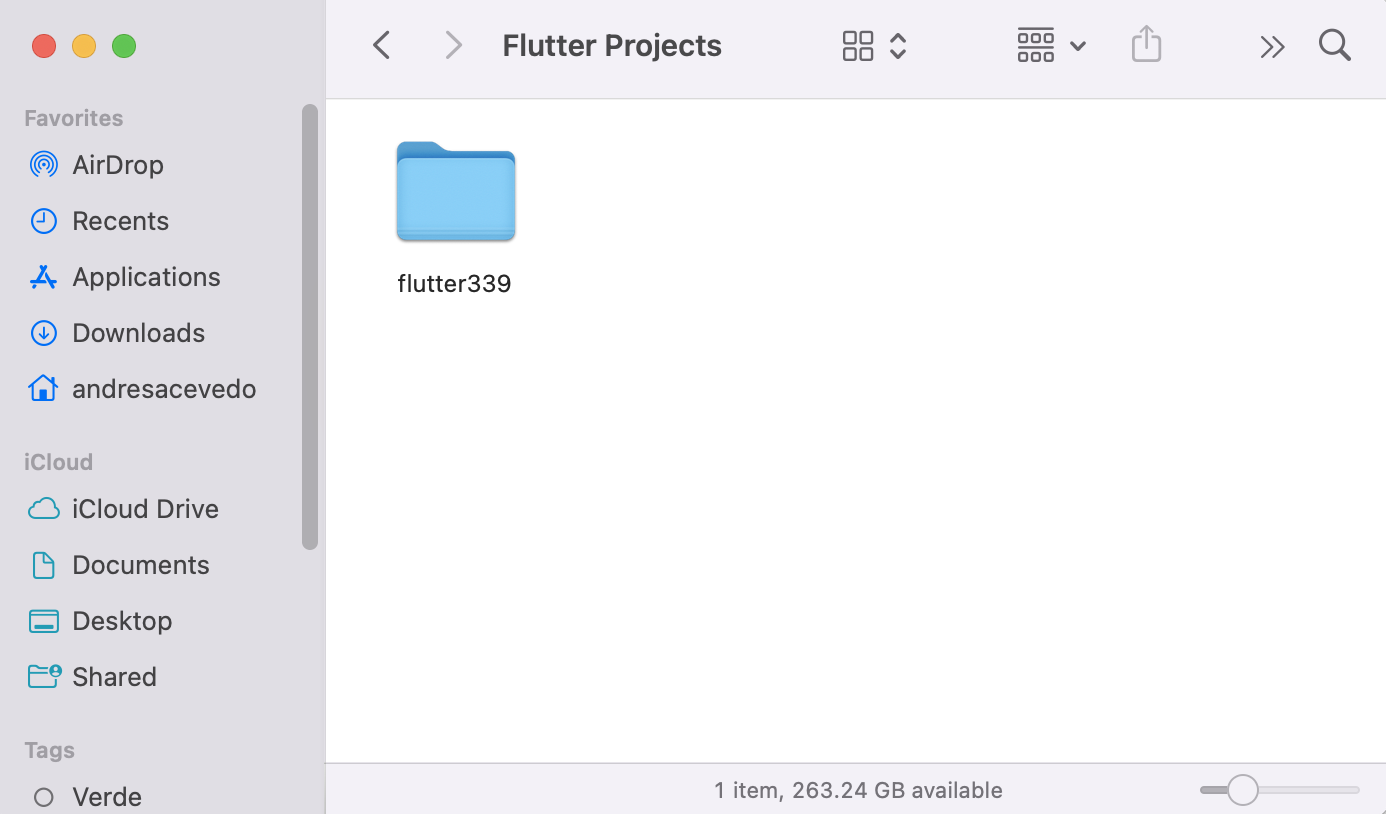
Once it finishes downloading, extract the components of the zip file to a folder where our local installation will live. I called mine flutter339.
We have flutter now, but we need to add it to the terminal Path so we can use it as a command on different folders. One way to do that is the following:
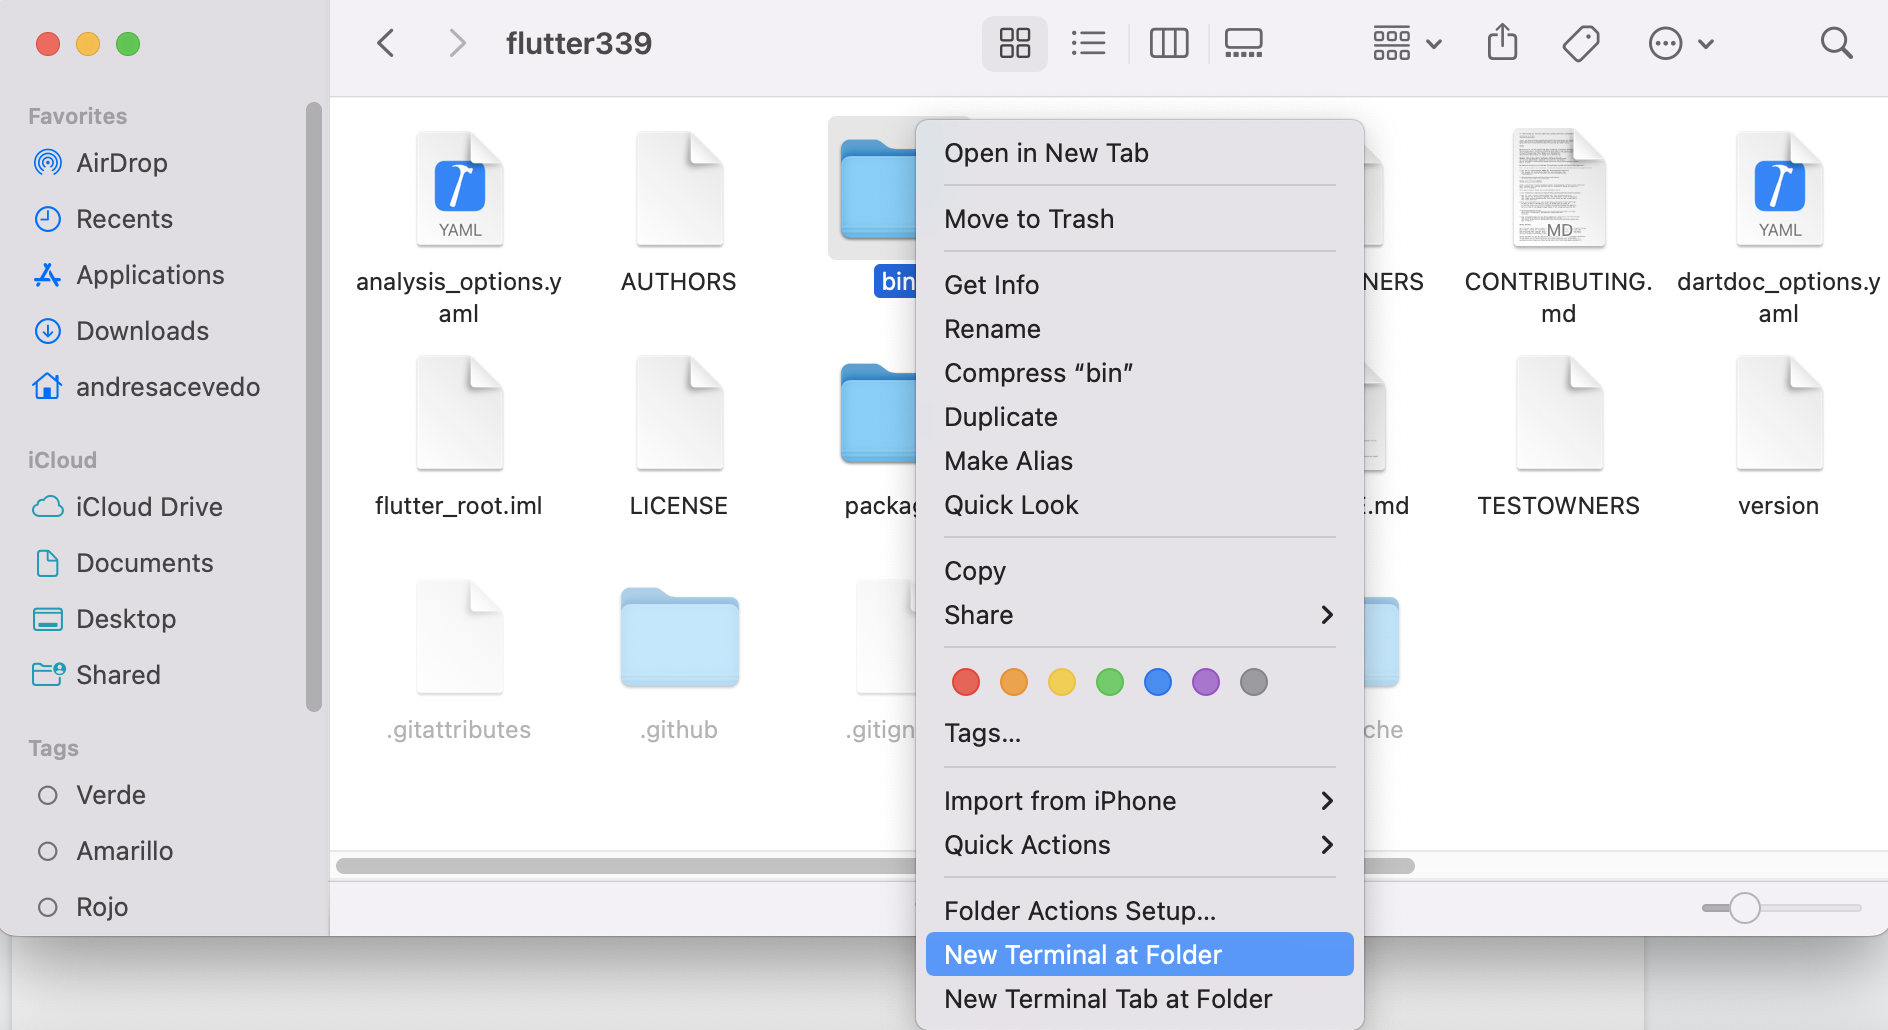
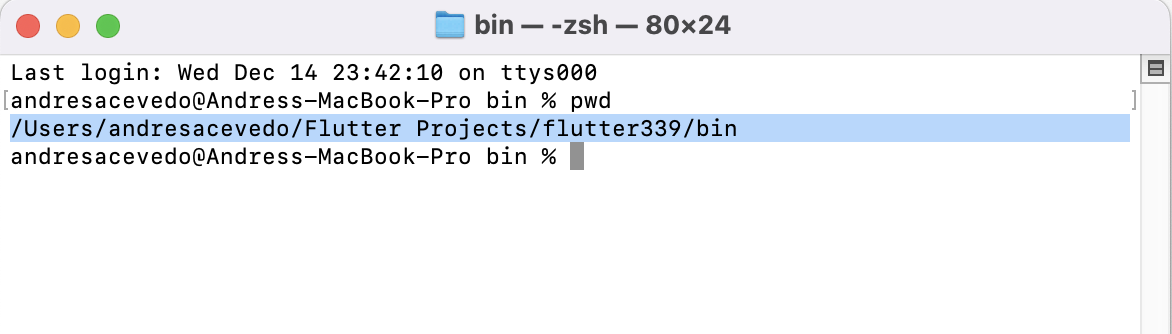
Inside your flutter folder go to the bin subfolder, right-click on it, and select open new terminal at its location.
Inside the newly opened terminal window use the pwd command to get the working path and copy that value.
Now, using finder go to the root path for your user, and check if there’s a .zshrc file (beware it’s a hidden file).
Using your favorite code editor, open (or create it) and put the line you got from the terminal at the end, for example, my .zshrc file ended up looking like this:

Reopen a terminal window. Go to a folder where your amazing first flutter project will live and run the following command:
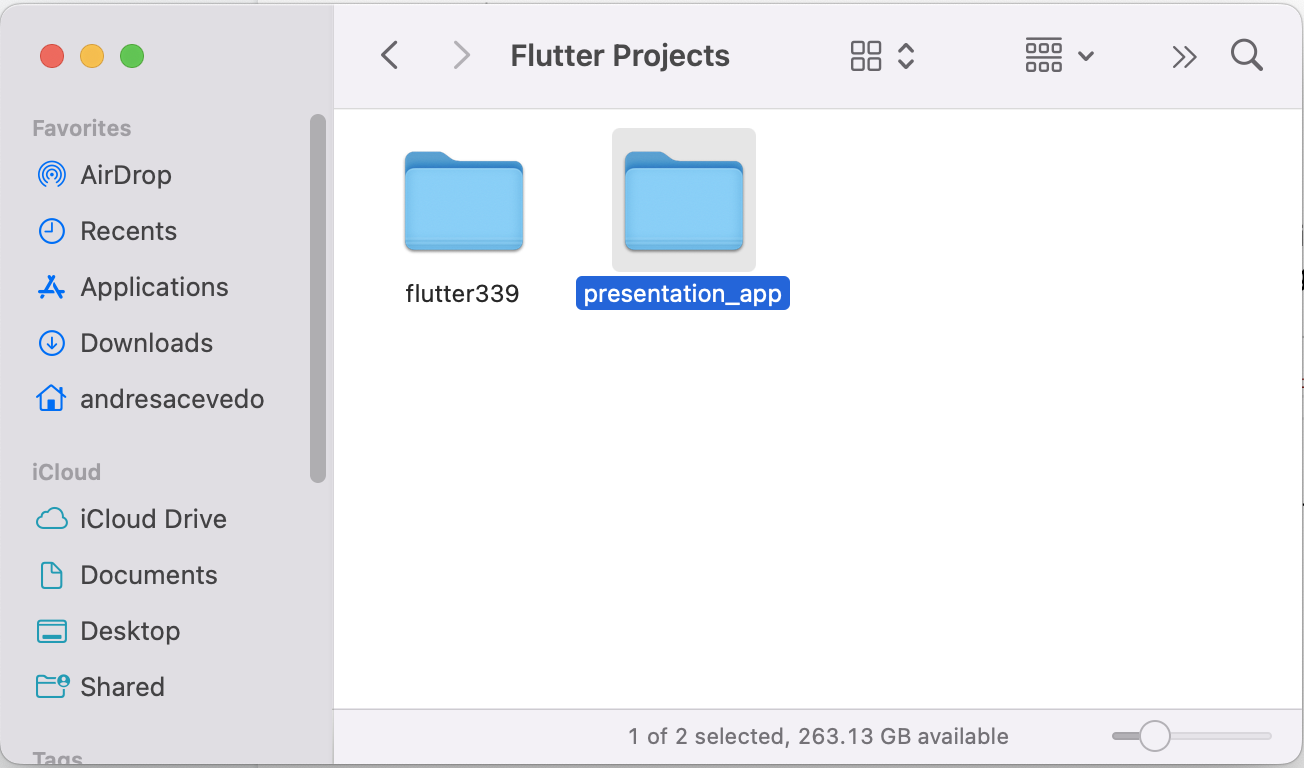
flutter create presentation_app
If you check your finder, you will see a newly created folder with the name you specified.
Inside that folder open lib/main.dart with your favorite code editor.
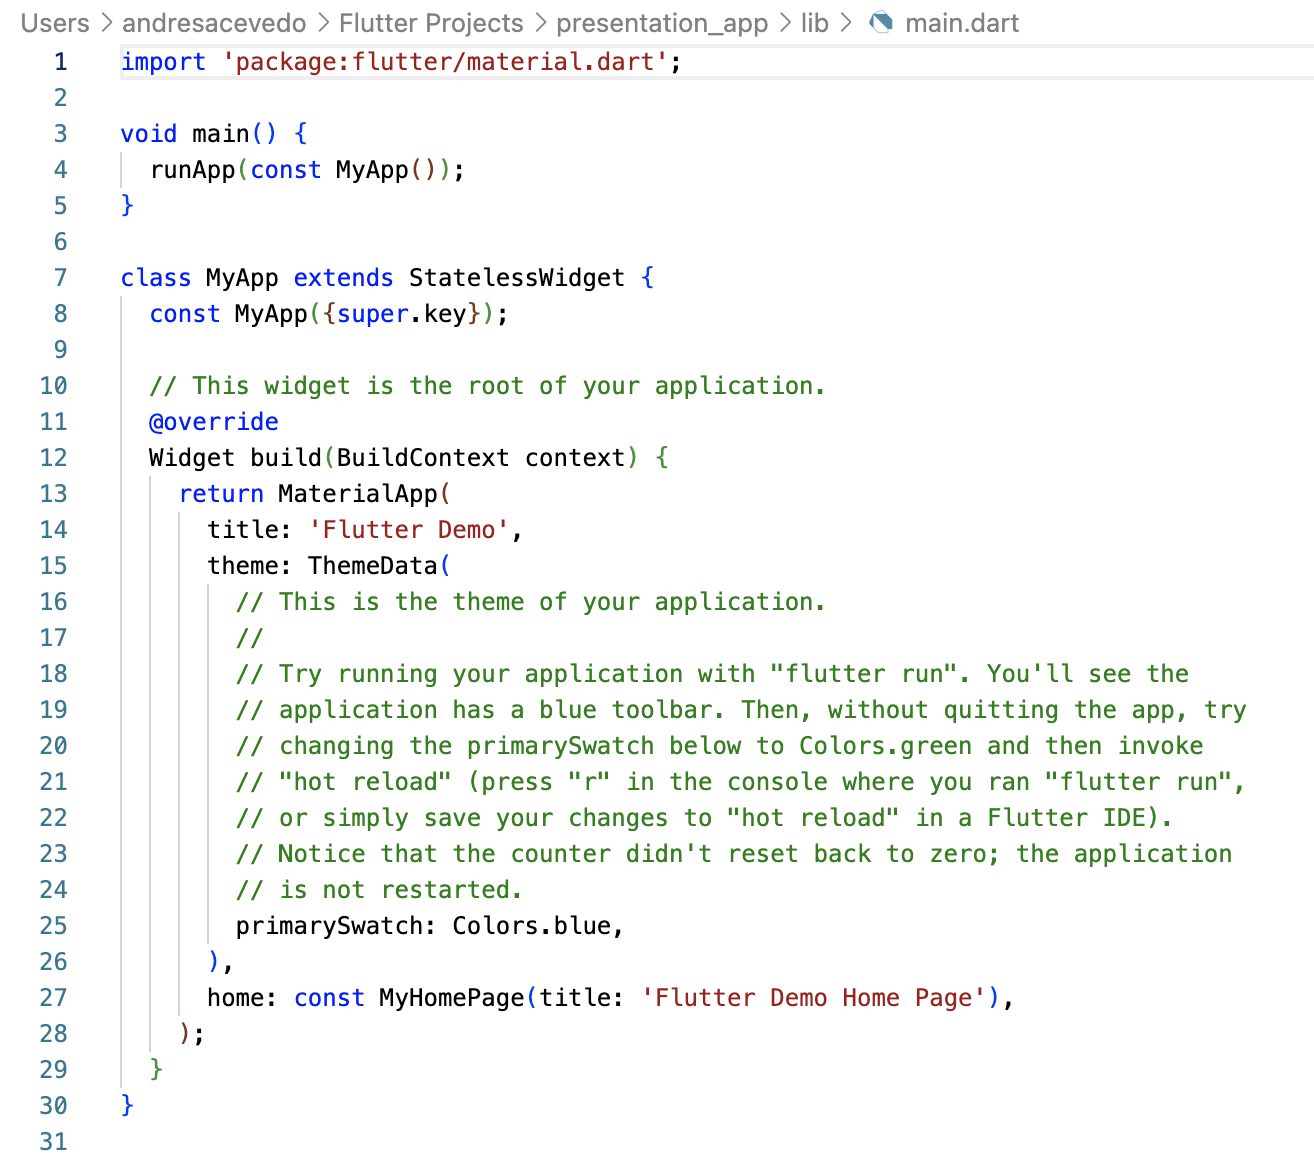
This file is the entry point for your Flutter app. Delete all of it and paste the code from our previous tutorial.
Now is the time for the truth. Go to the root of your project on the terminal and execute:
flutter run
In my case, I got this set of options:

I am sure you were expecting to see an iOS device (simulator) but don’t worry, we will get there. For now, let’s test take this chance to run our app for macOS by pressing 1.
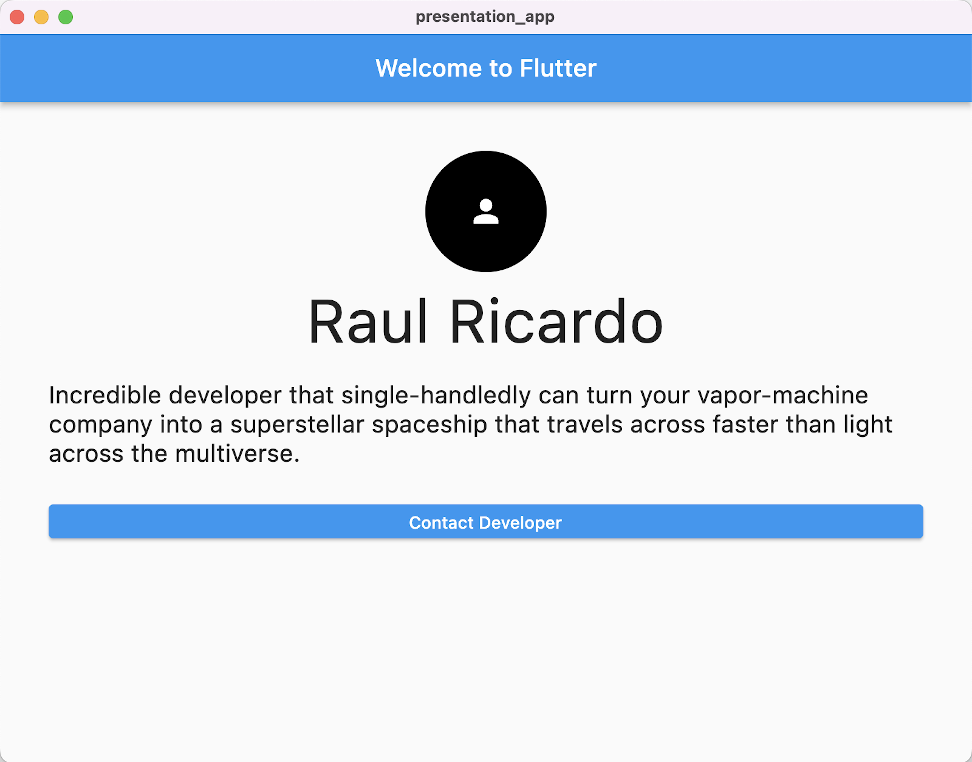
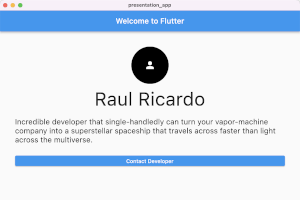
If the build process went fine, you will see your app running as a macOS app.
This shows how cool and ambitious Flutter is. When it says multi-platform, it does not only mean Android and iOS but also Windows, Mac, and Web. Now, let’s open the Simulator app that XCode installed for us. You can open it as a normal app using Launchpad, or using the terminal with the command.
open -a Simulator
That will launch a simulator of an iOS device. Let it load and then execute flutter run again. It will automatically detect the simulator, build the project and run it.
It is just fantastic how easily we have seen our app running on the browser, and as an iOS app. What about running it on an actual iPhone? Sure thing!
Start by enabling Developer mode on your iPhone. It is in Settings → Privacy & Security. After you enable it, your iPhone will restart.
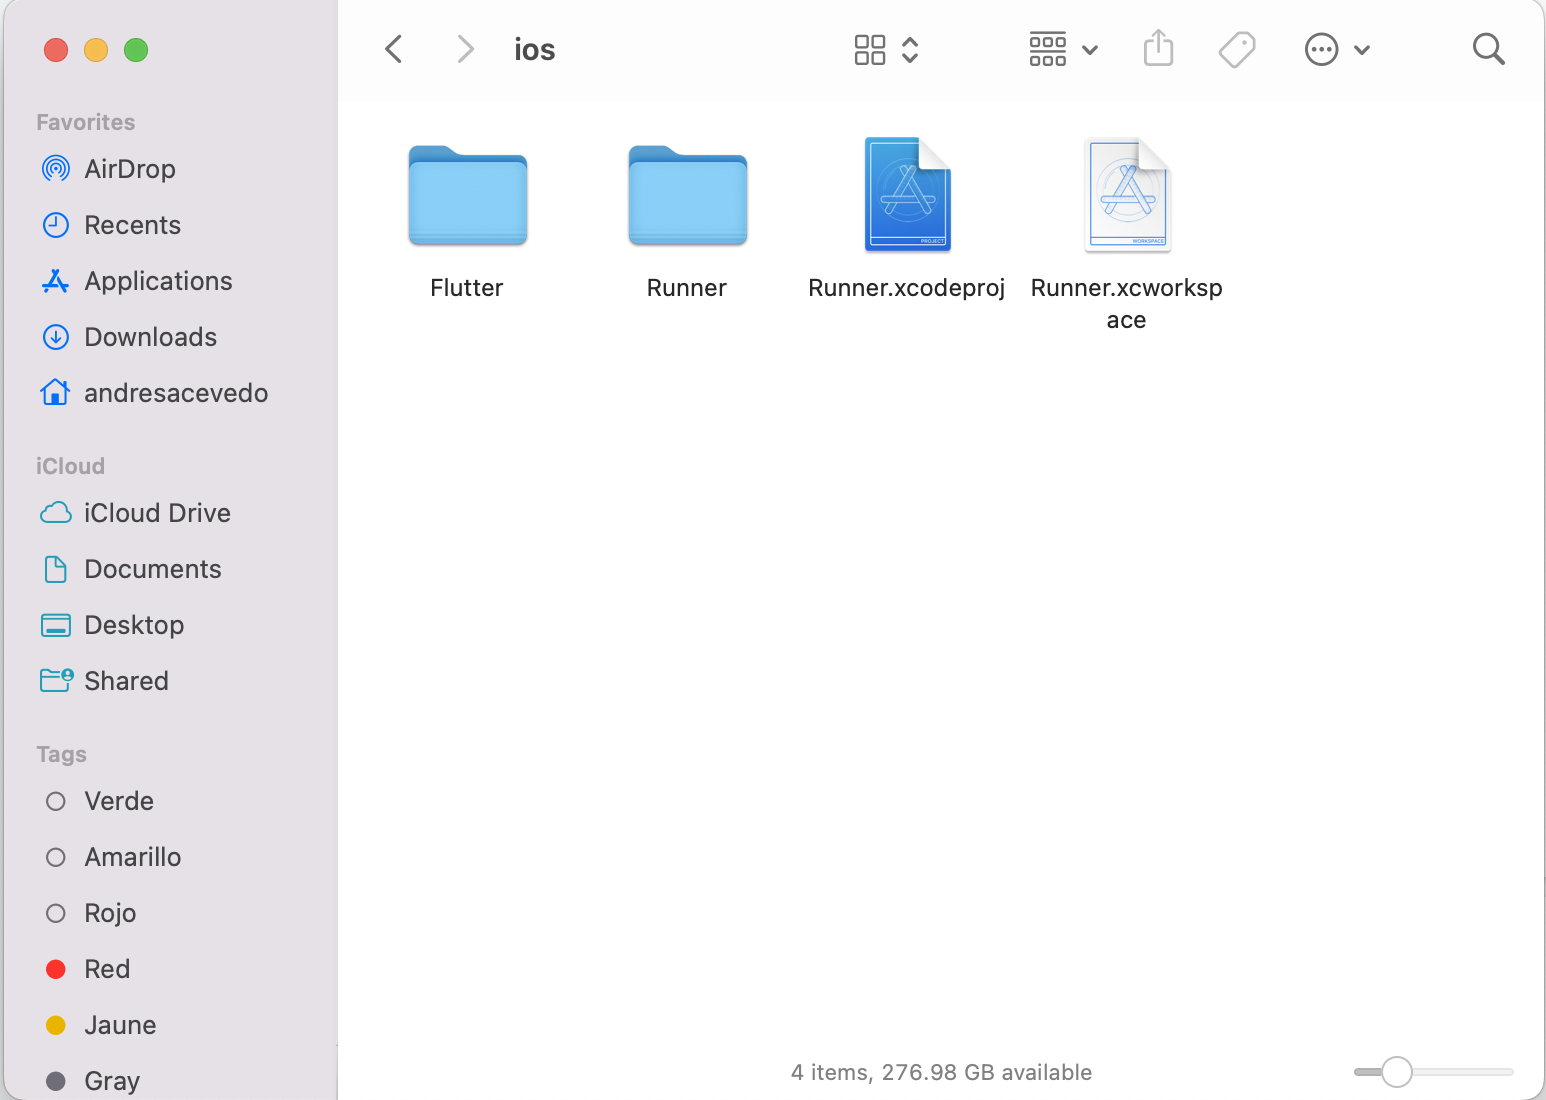
Once it starts again, accept the alert that asks about enabling developer mode, and connect your iPhone to your mac using a cable. Next, go to the iOS folder in the root of your project and open the XCode workspace (Runner.xcworkspace) that flutter created for you.
Xcode will open. To run your app on an actual device, some certificates and provisioning files are required, but don’t worry, most of the time XCode will take care of that. Right now, what you need to do is create a free Apple Developer account. You can do that at: http://developer.apple.com/
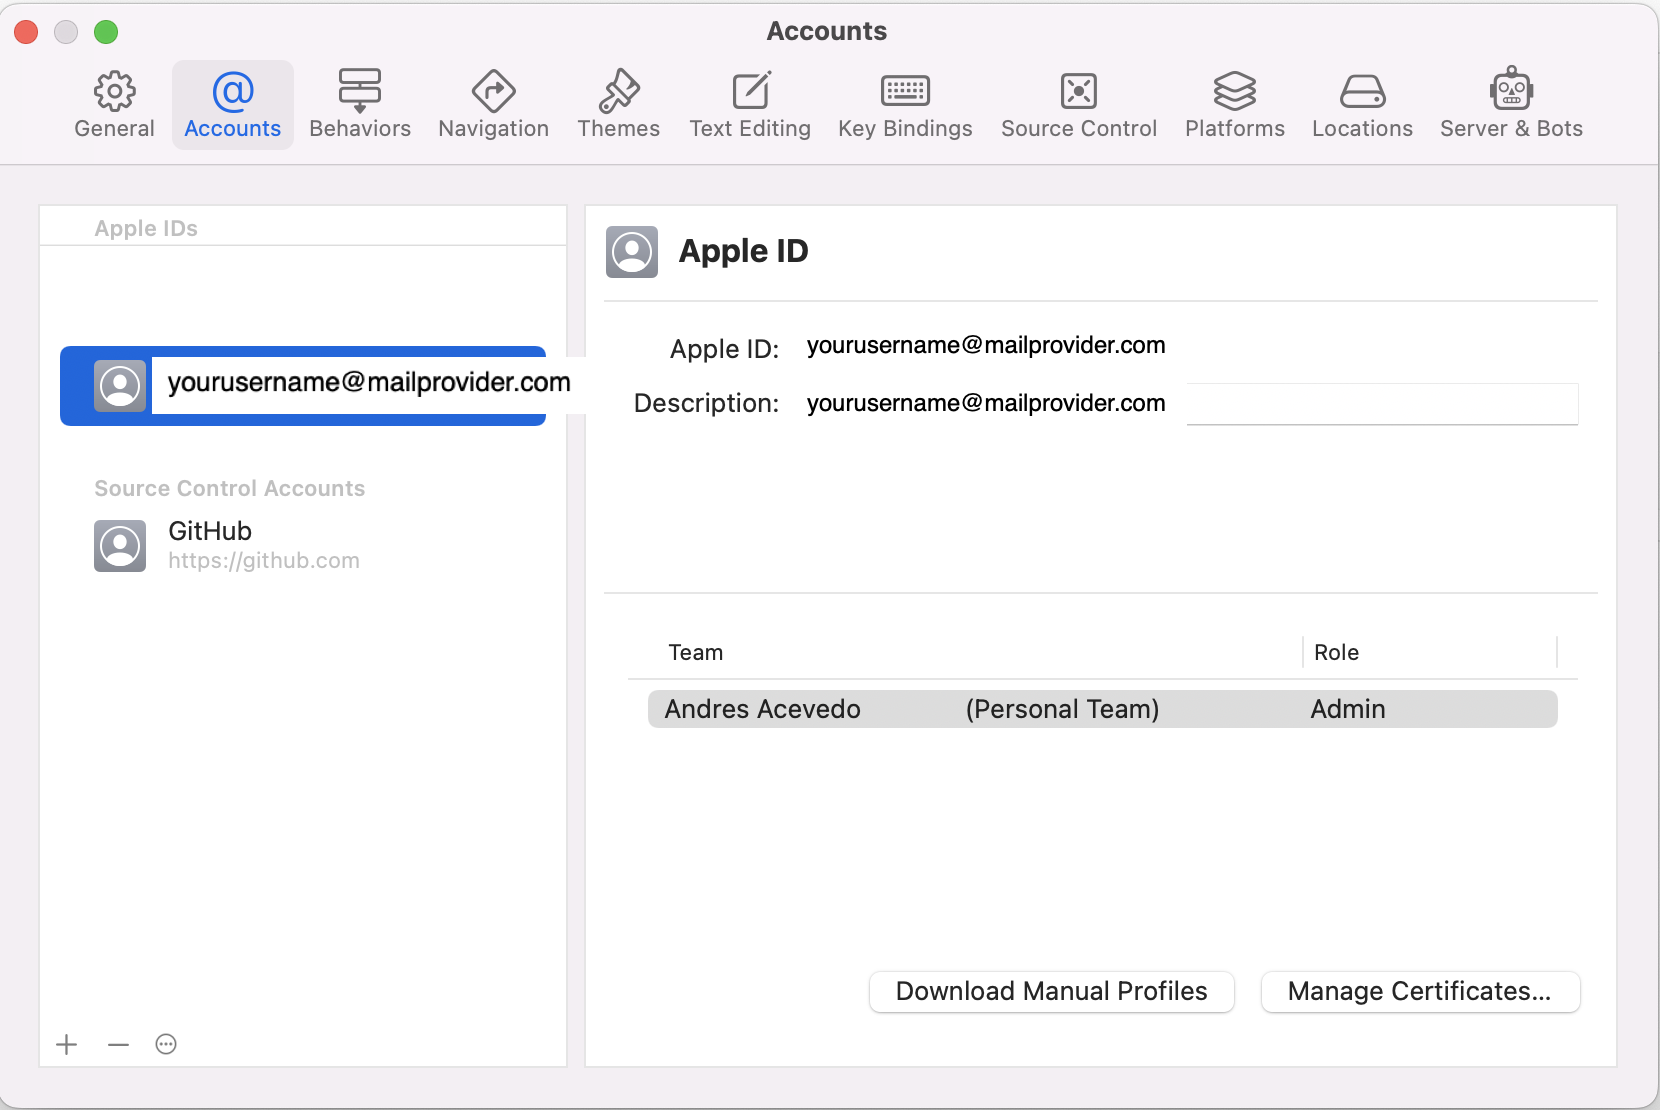
Once you have your account set up you add it to XCode, do that on XCode preferences in the Accounts section:
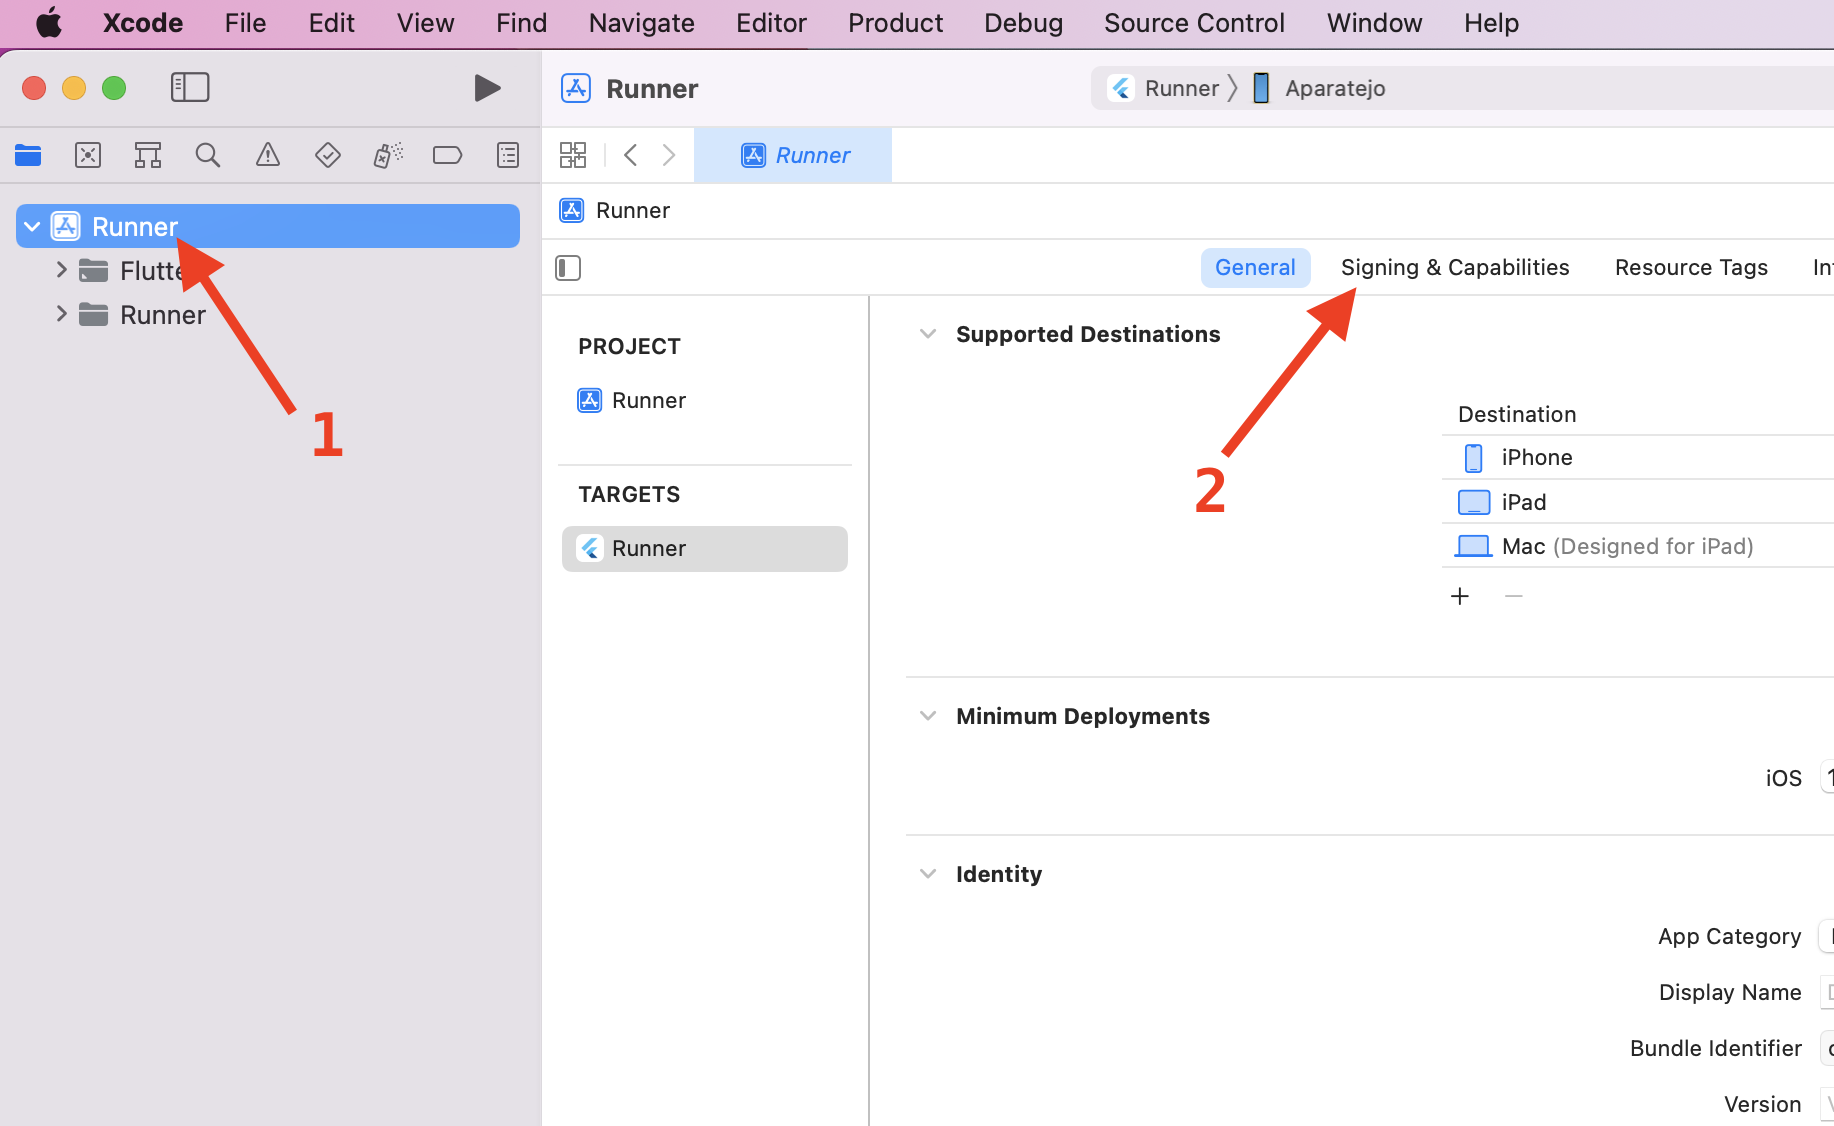
Great! Close the Now on the left panel and click on the blue icon that says Runner to access the project explorer:
You might see some problems with the signing like in the following image, luckily they are easy to solve:
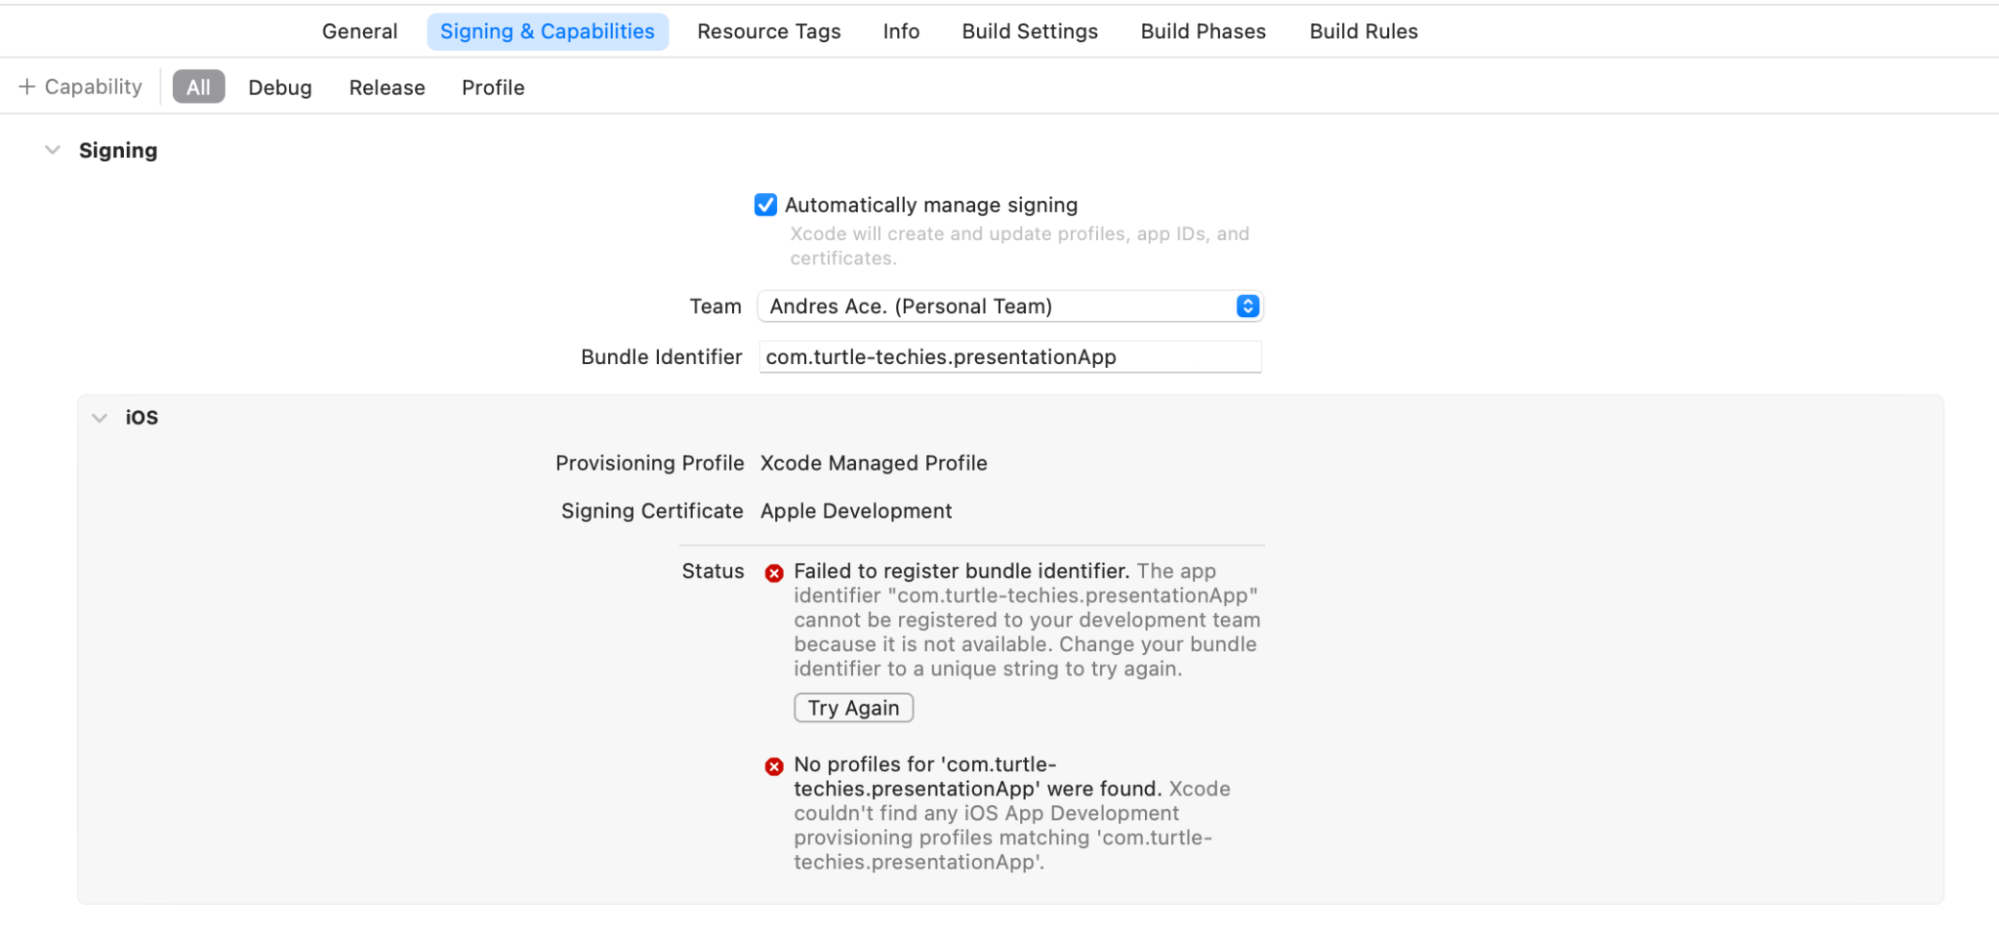
Change the Bundle Identifier to a unique string and click on the Try Again button. If you want to learn more about certificates and code signing, you can check the official documentation: https://developer.apple.com/support/code-signing/
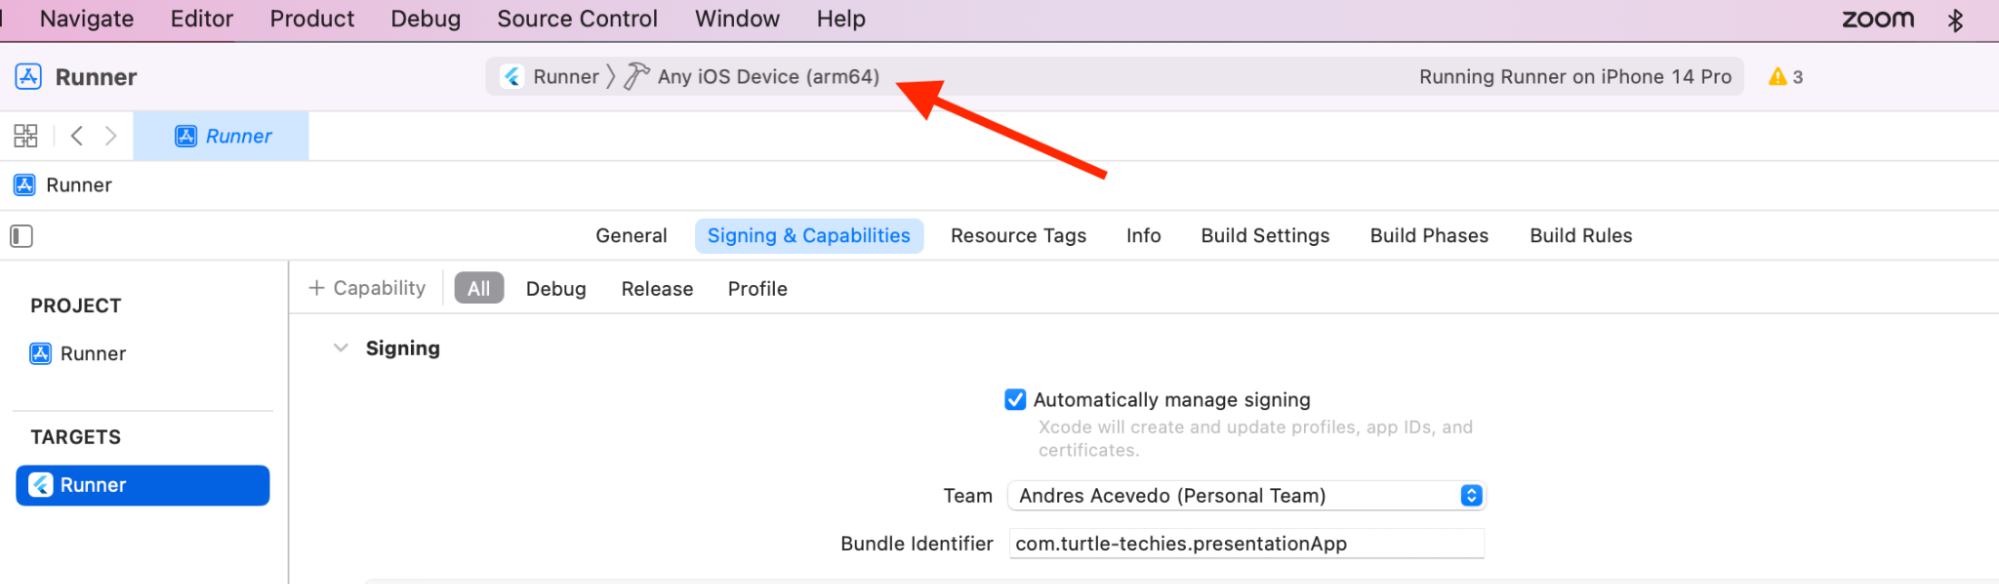
Once you have solved all the problems in this section, click on the device selector (where the red arrow points) and select your phone. Make sure you do not select a simulator from the list but the physical device that should be connected to your mac via USB.
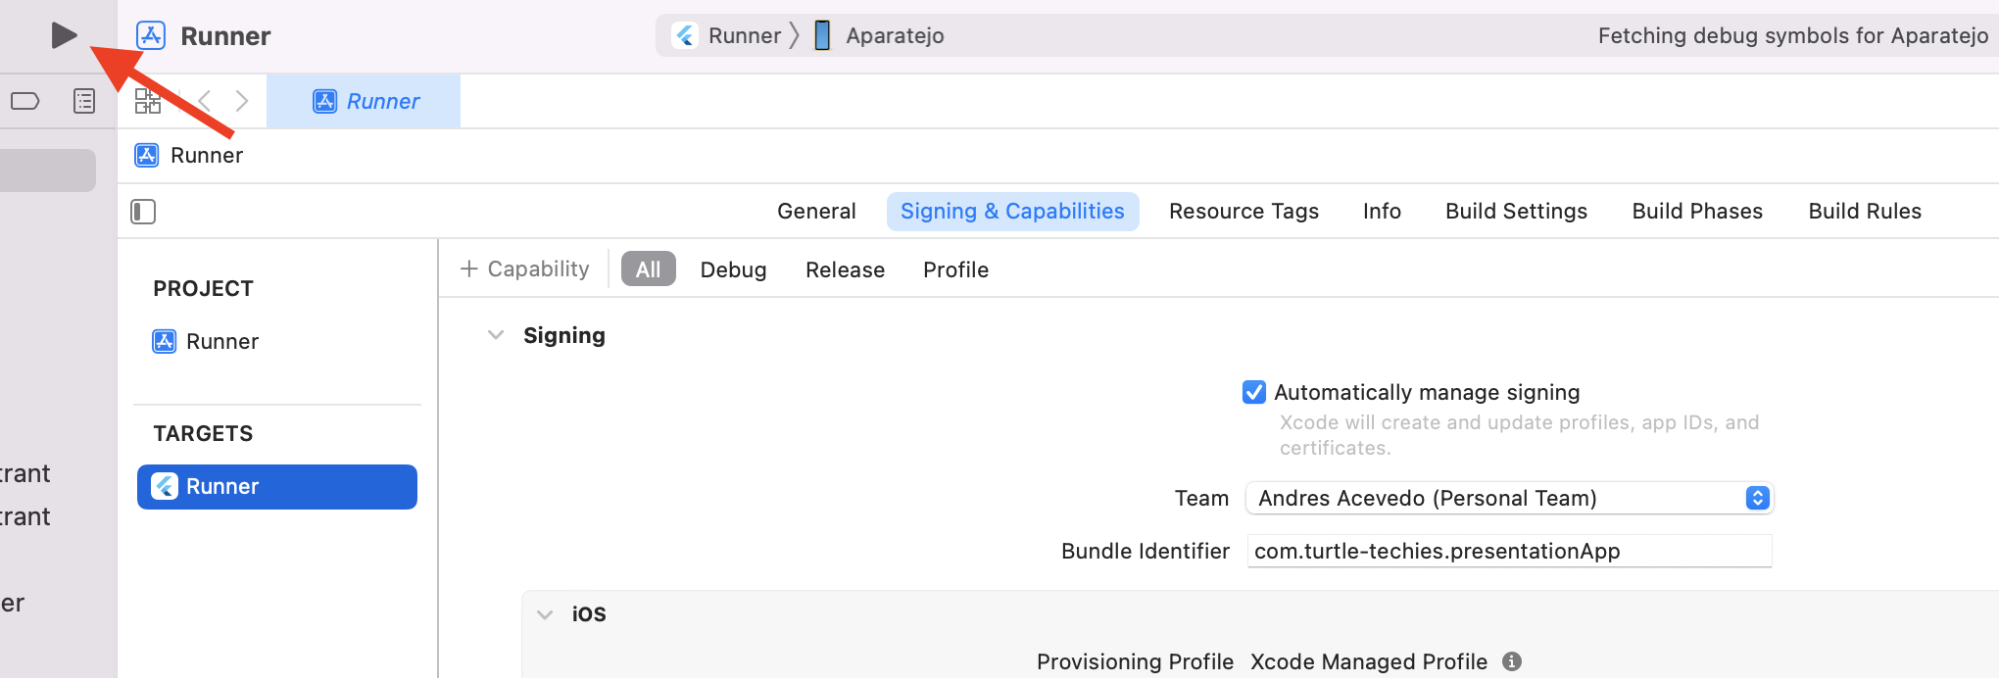
Then unlock your iPhone and click on the Run button (the triangle that looks like a Play button).
Probably you will get an alert on your phone about the developer not being allowed, this is normal. To bypass this security protection, on your iPhone go to Settings → General → VPN & Device Management, and there select your Apple Id and Trust that account.
Go back to XCode and click on the Run button again.

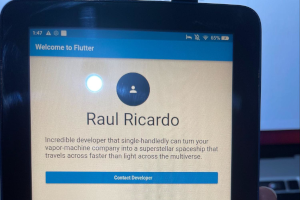
There you go! Your very own iOS app running on an iPhone. You should be proud of yourself and prepare for new adventures as a cross-platform mobile developer. In our next article, we will check how to run our Presentation Card App on a physical Android Device.
Stay Tuned!