
We’ve seen in parts 1 and 2 of this series how to make a simple Flutter app run on a web browser and on an iOS device. Having in mind that Android is the world's most-used operating system, it’s only natural that we learn how to make our app run on Android.
Before getting started
To complete this part, it is recommended that you complete the first part of our Gentle Introduction to Flutter. The second part is about running flutter on iOS, so if your primary interest is Android, you can skip that part.
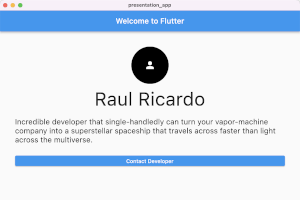
We are going to start where we left off. So far, we had a welcome screen that outputs some text to the console when you tap on the Contact Developer Button. You can check the first part of the tutorial here and get the complete Dart code here.
Downloading the right Flutter for your machine
You need to download and install the correct file depending if you use Windows, macOS, or Linux. For this tutorial, I am going to use macOS. Since it is based on Unix, the instructions for Linux are very similar. In the following link, you can find specific flutter versions for different operating systems:
https://docs.flutter.dev/get-started/install
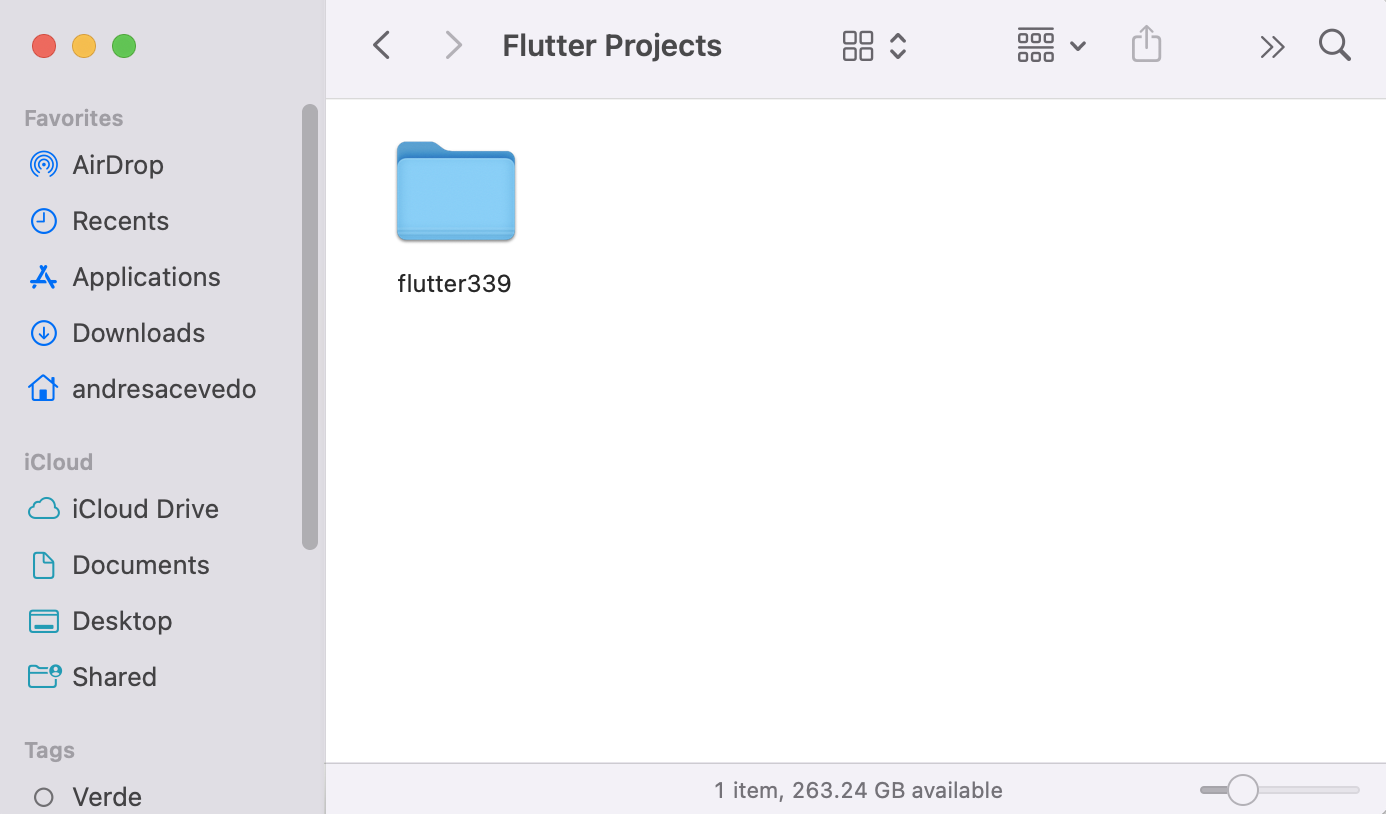
Once it finishes downloading, extract the components of the zip file to a folder where our local installation will live. I called mine flutter339.
Configure your path for Flutter
We have flutter now, but we need to add it to the terminal Path so we can use it as a command on different folders. One way to do that is the following:
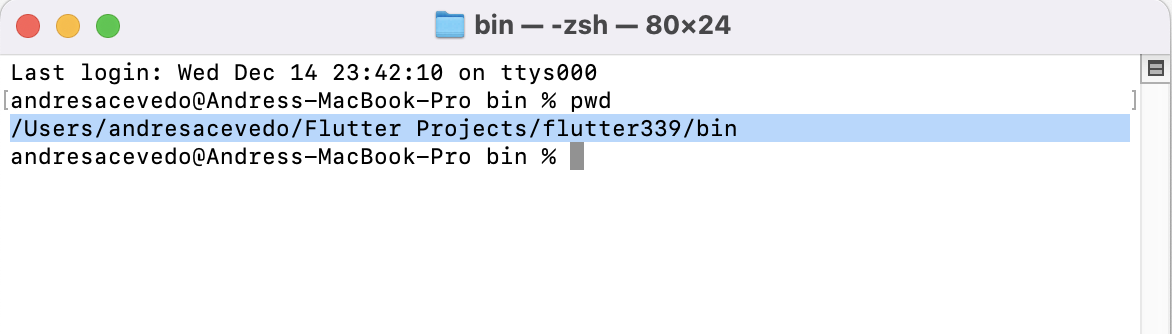
Inside your flutter folder go to the bin subfolder, and open a new terminal at its location.

Inside the newly opened terminal window use the pwd command to get the working path and copy that value.
Now, using finder go to the root path for your user, and check if there’s a .zshrc file (beware it’s a hidden file).
Using your favorite code editor, open (or create it) and put the line you got from the terminal at the end, for example, my .zshrc file ended up looking like this:

Note: For Linux, you probably need to check for a different file like $HOME/.bashrc You can find detailed instructions on the next link:
https://docs.flutter.dev/get-started/install/linux#update-your-path
Similarly, the process of updating the path is a little different for Windows. Check the following link for specific instructions:
https://docs.flutter.dev/get-started/install/windows
Create a Flutter Project
Reopen a terminal window. Go to a folder where your amazing first flutter project will live and run the following command:
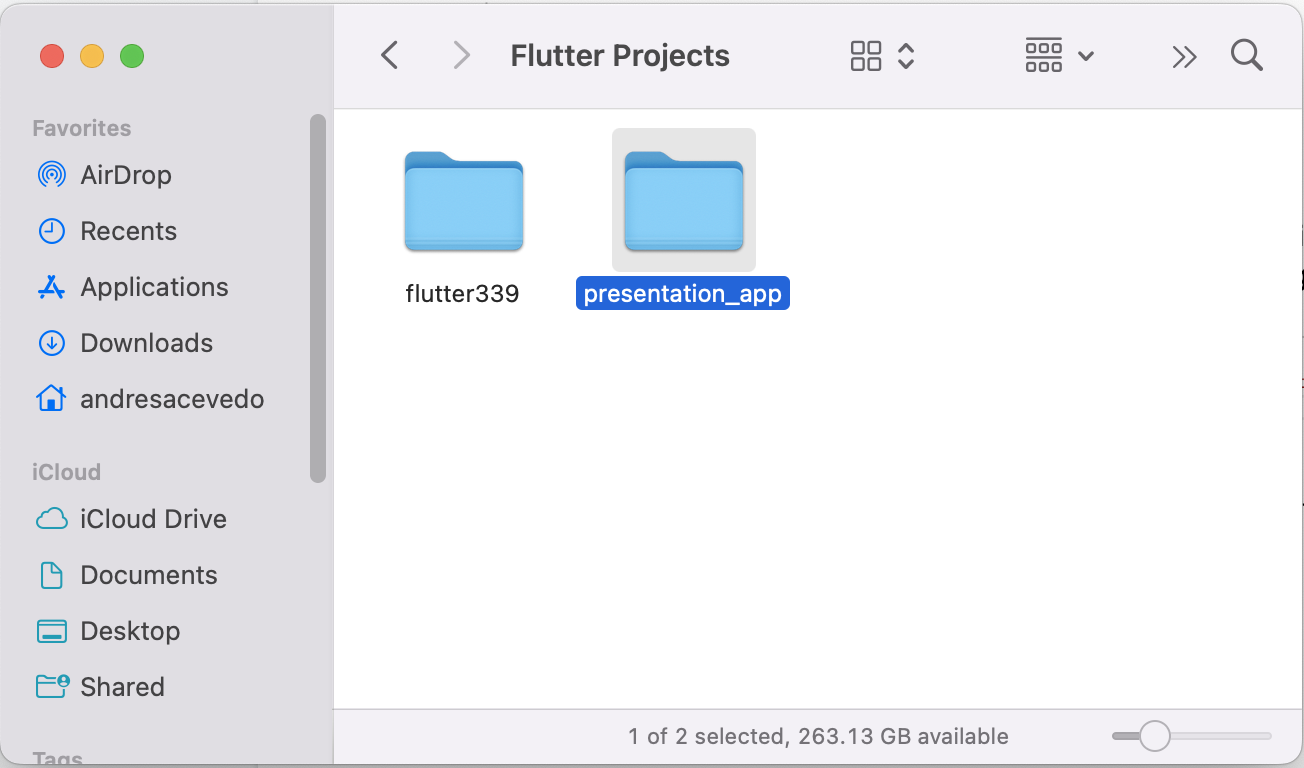
flutter create presentation\_app
If you check the same folder with your file manager, you will see a newly created folder with the name you specified.
Inside that folder open lib/main.dart with your favorite code editor.
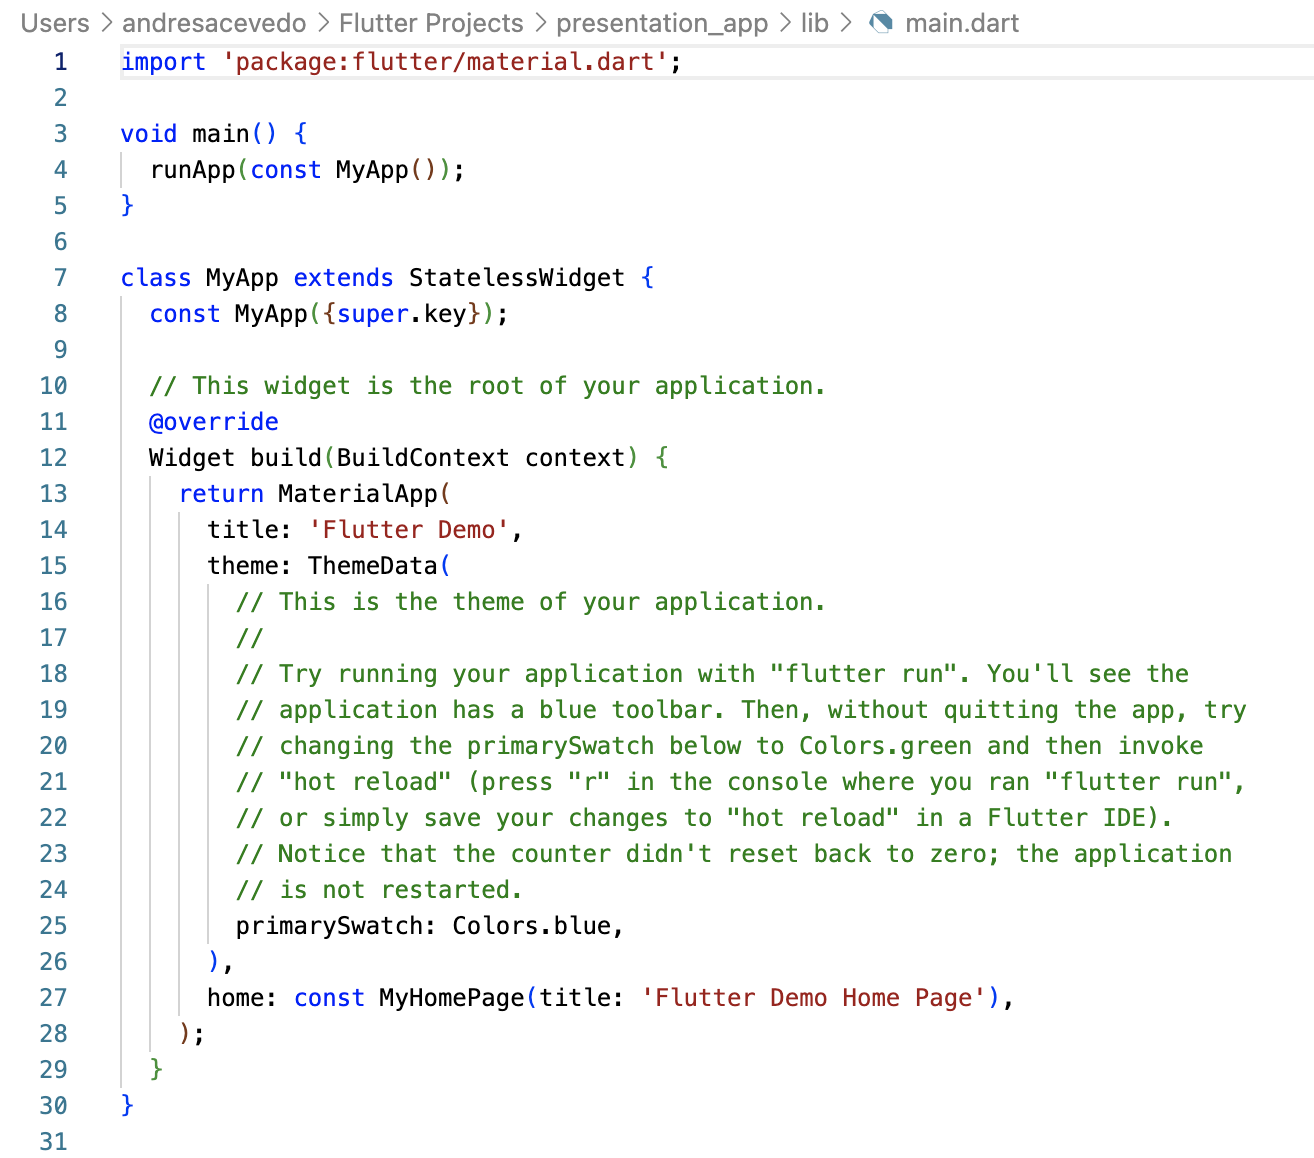
This file is the entry point for your Flutter app. Delete all of it and paste the code from the first part of the tutorial.
Running a Flutter project on a Virtual Device
For this we will need Android Studio, a complete and free IDE you can get from:
https://developer.android.com/studio
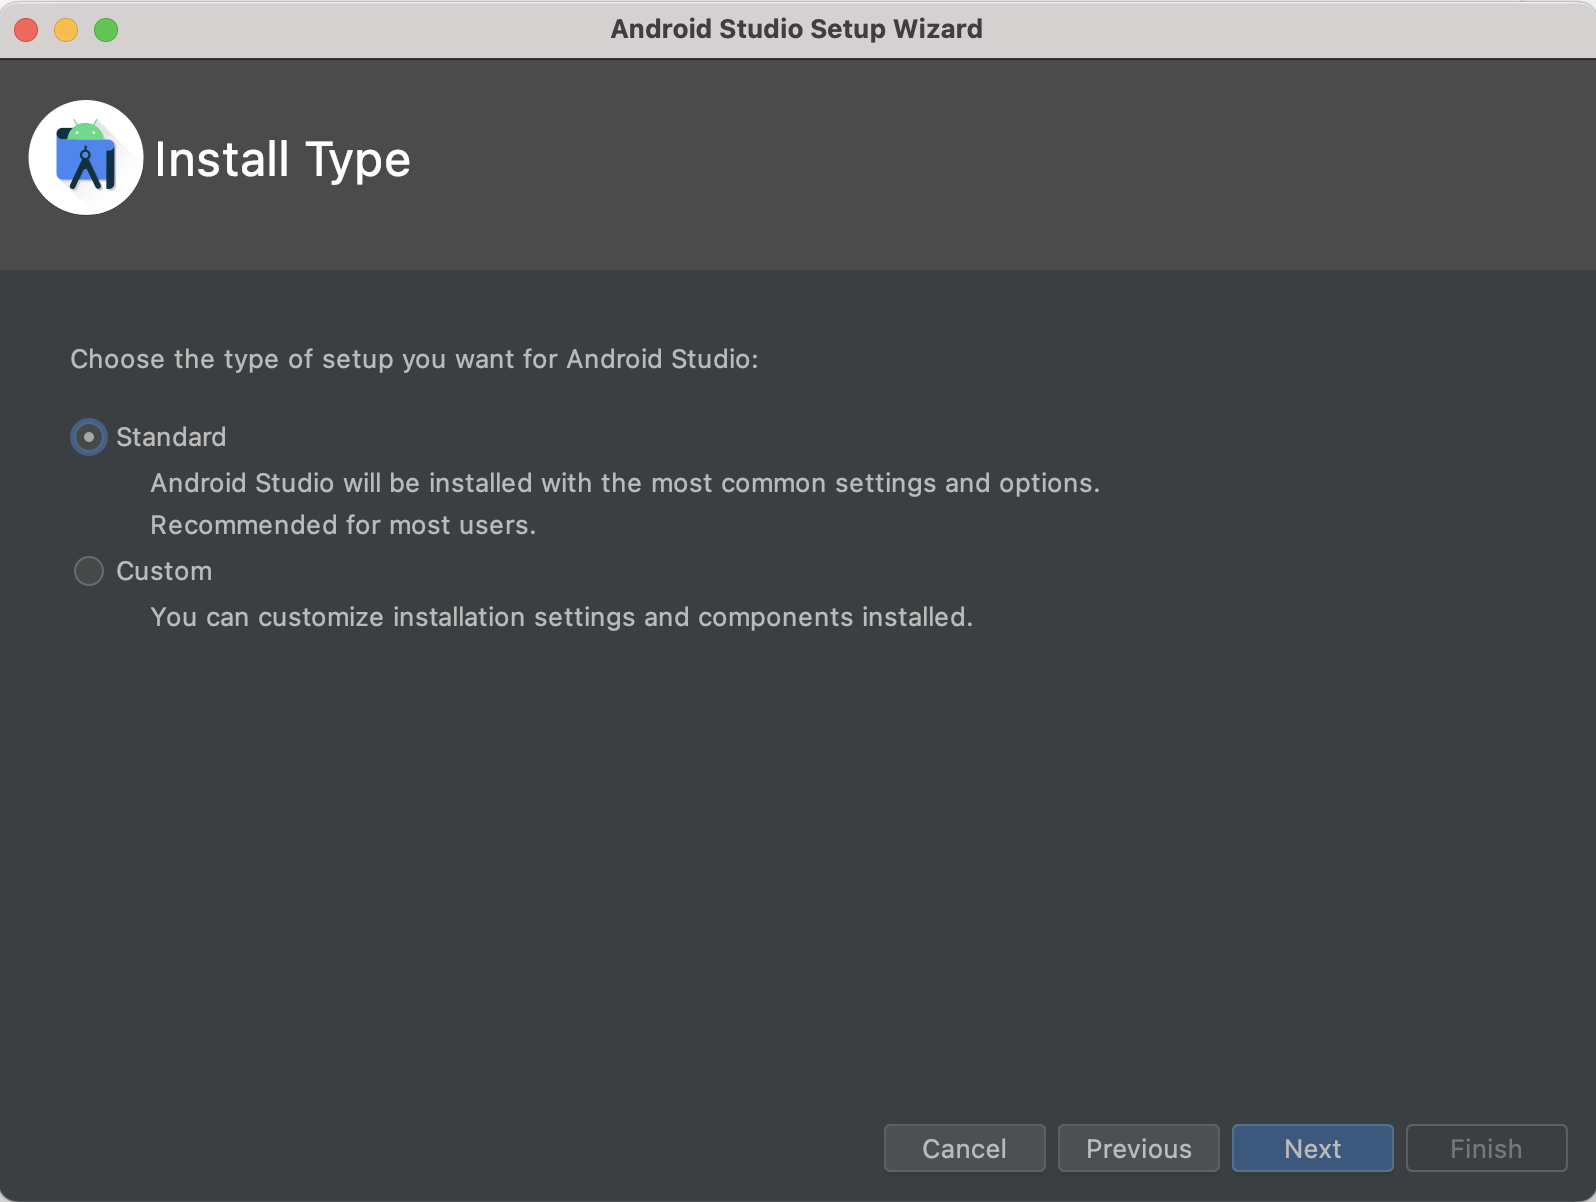
Installing it is easy, you just need to choose standard installation and let the wizard guide you through the rest of the process.
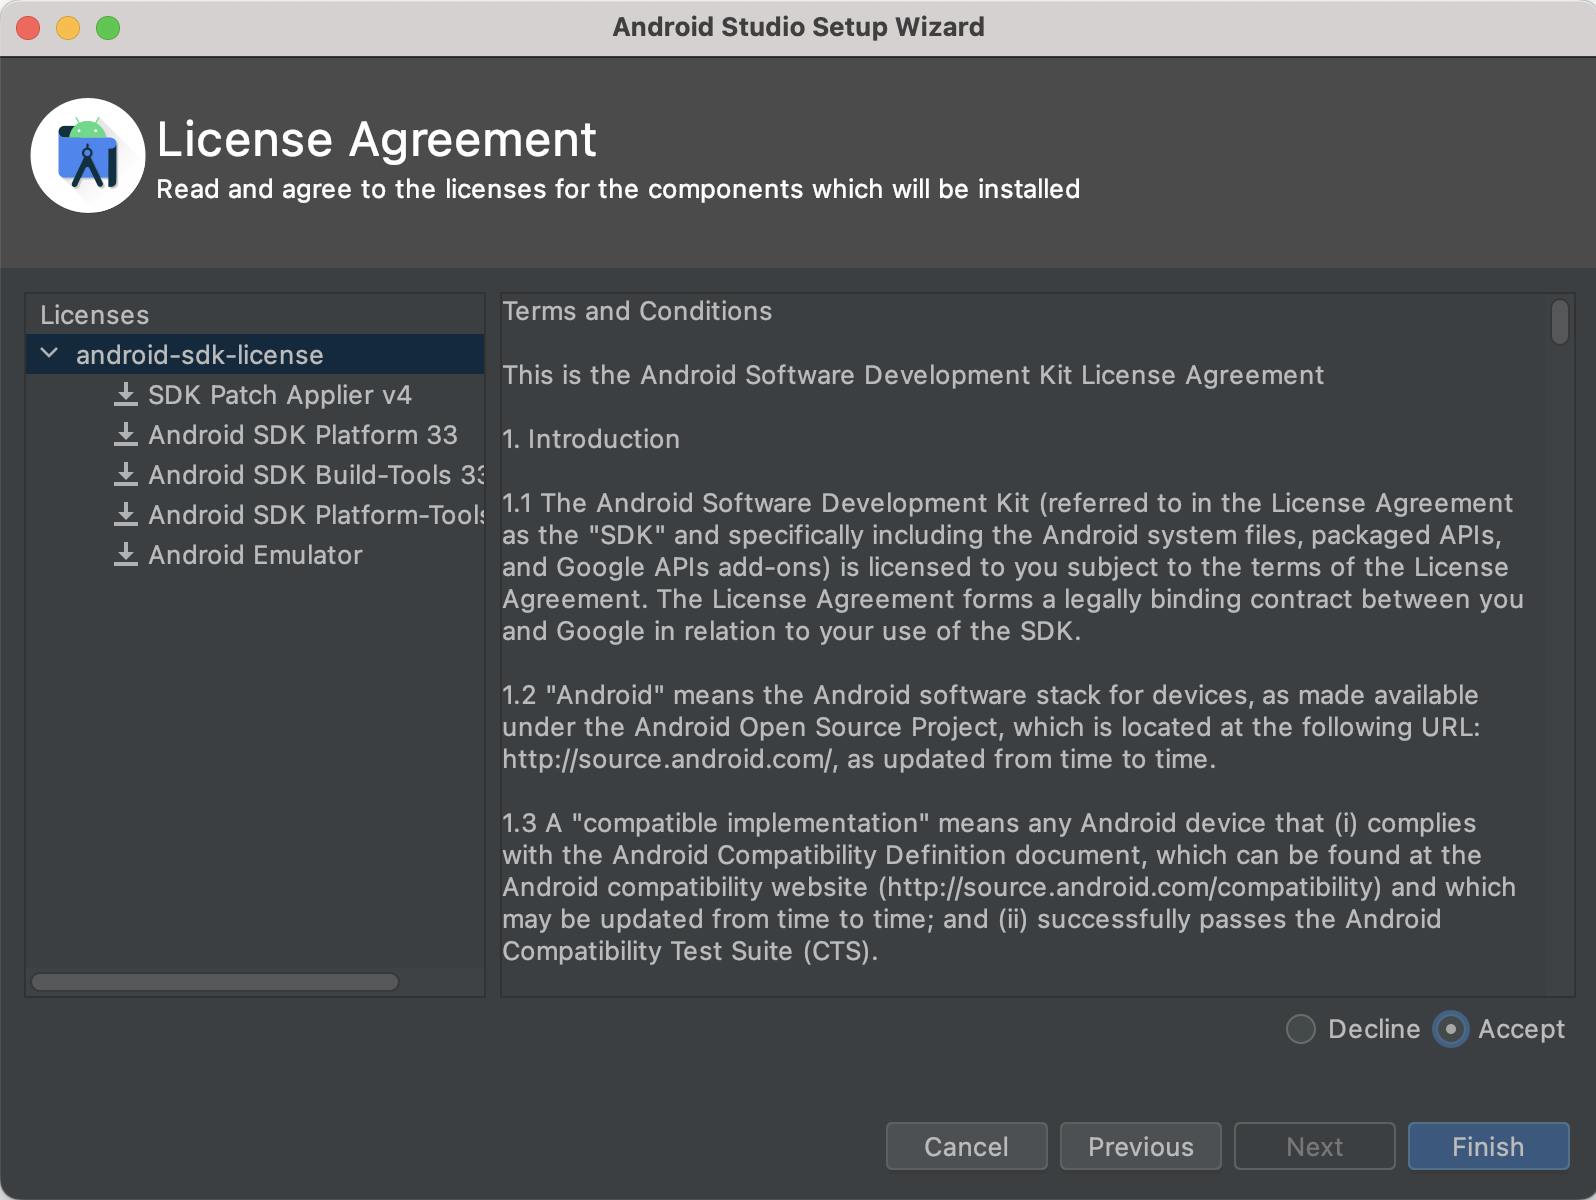
Also, accept terms and allow it to install Android SDK:
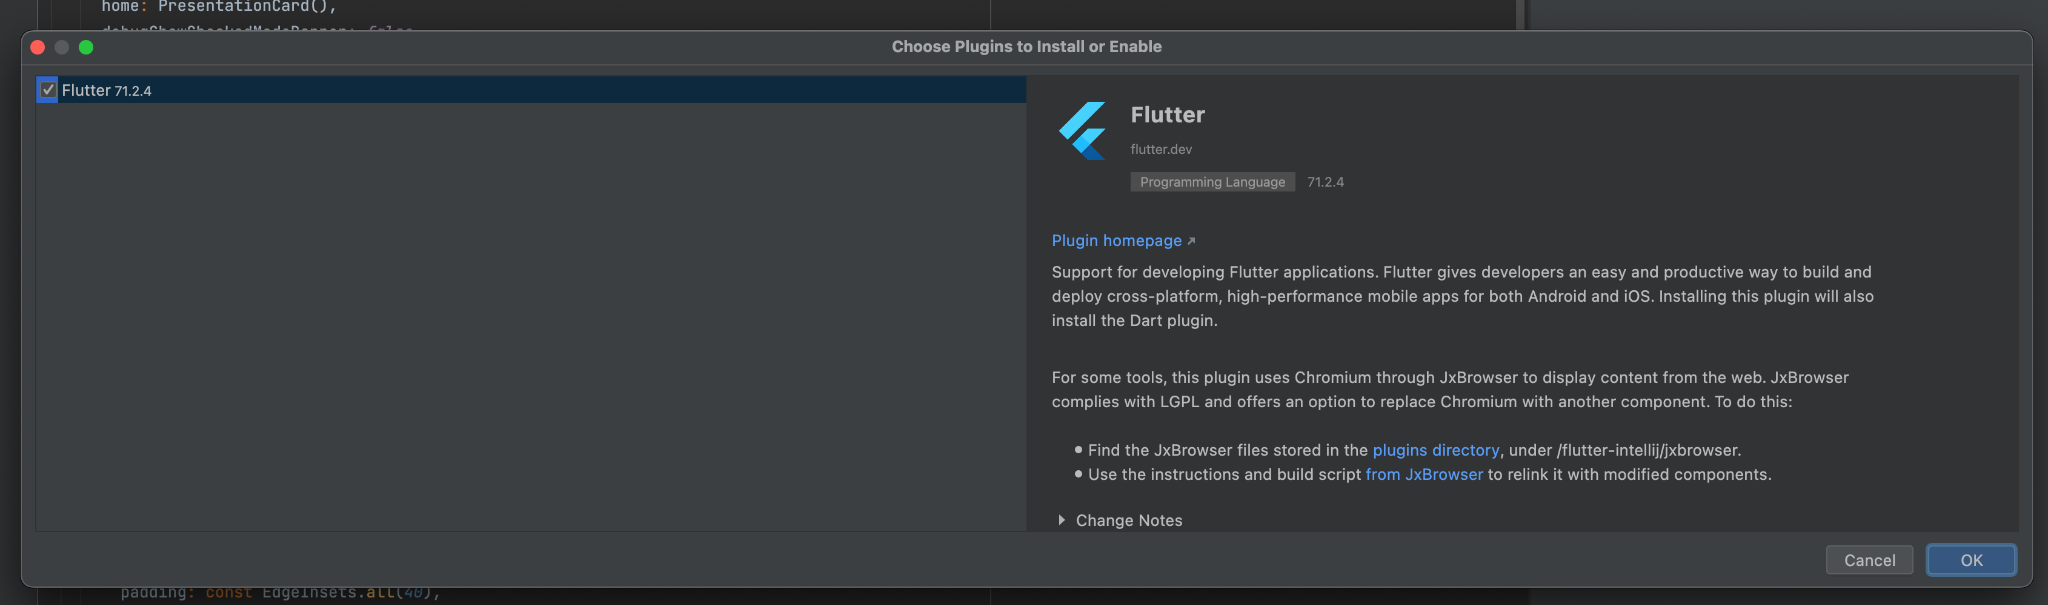
Once Android Studio has finished installing, go to File > Open and open your flutter project. The first time you do this, it may suggest installing the Flutter plugin:
Flutter comes bundled with a nice tool called flutter doctor for checking if everything is configured correctly. Execute the following command in the root of your flutter project:
flutter doctor
You can do this without leaving Android Studio using the bundled terminal:
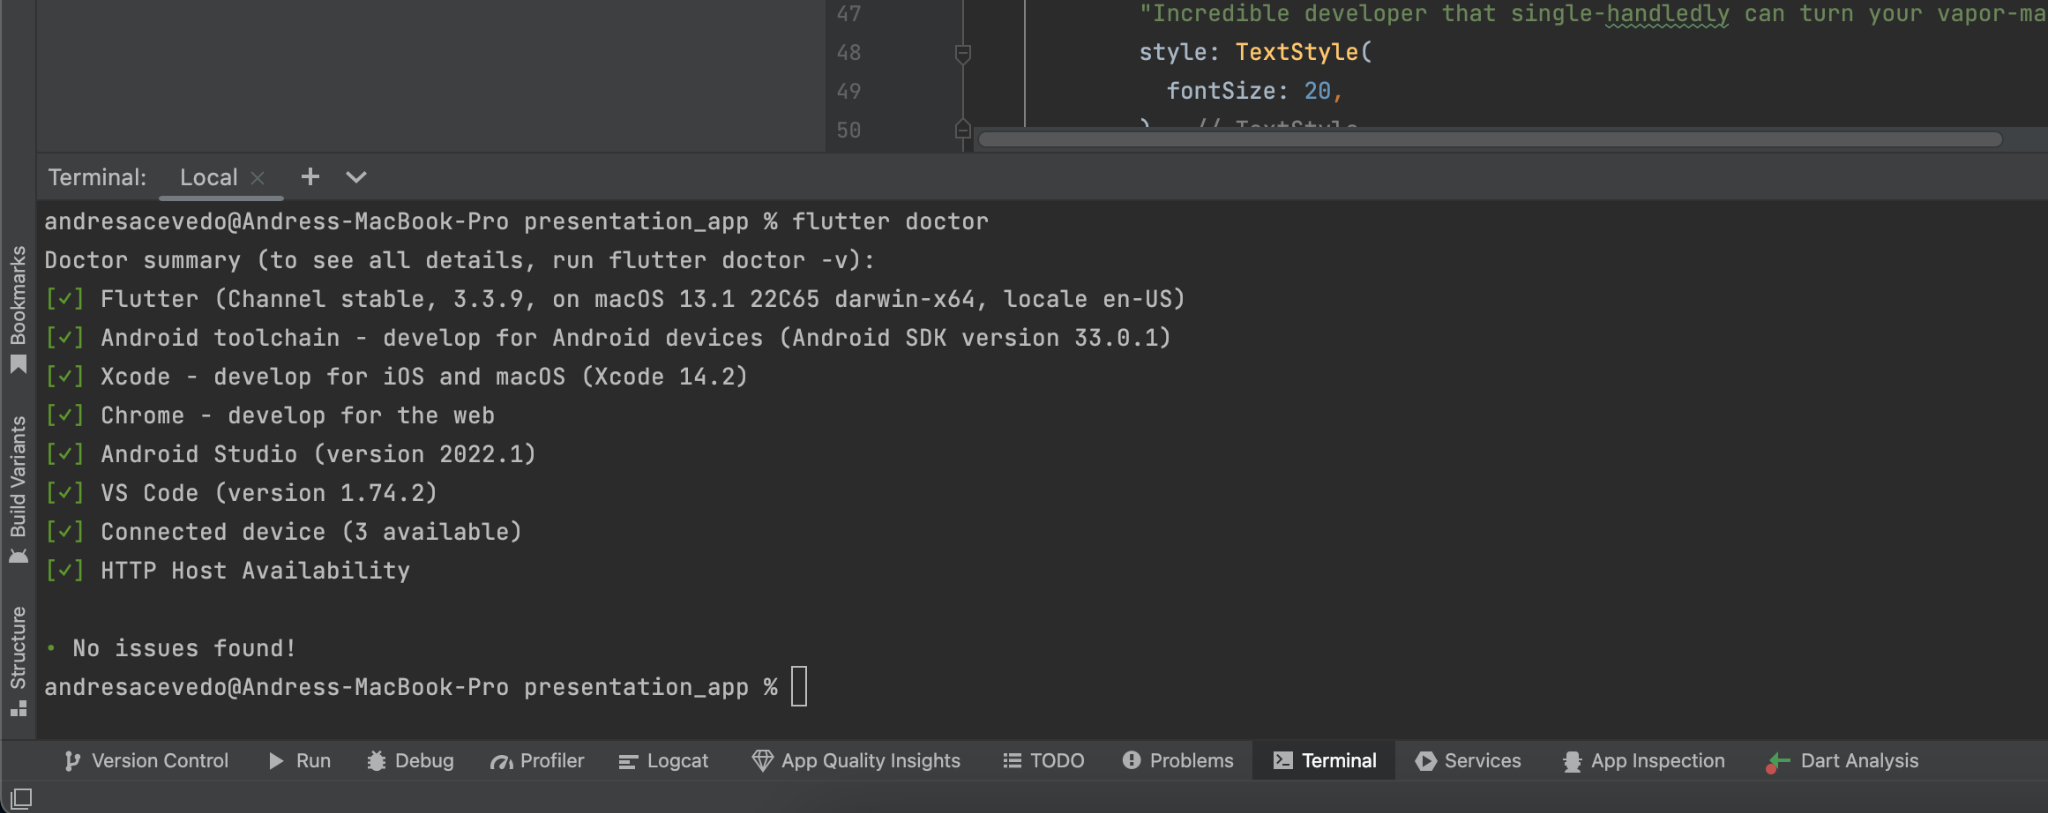
In the screenshot, everything looks fine, but it might not be your case. The first time I executed flutter doctor it didn’t find the cmdline-tools required for Android toolchain.
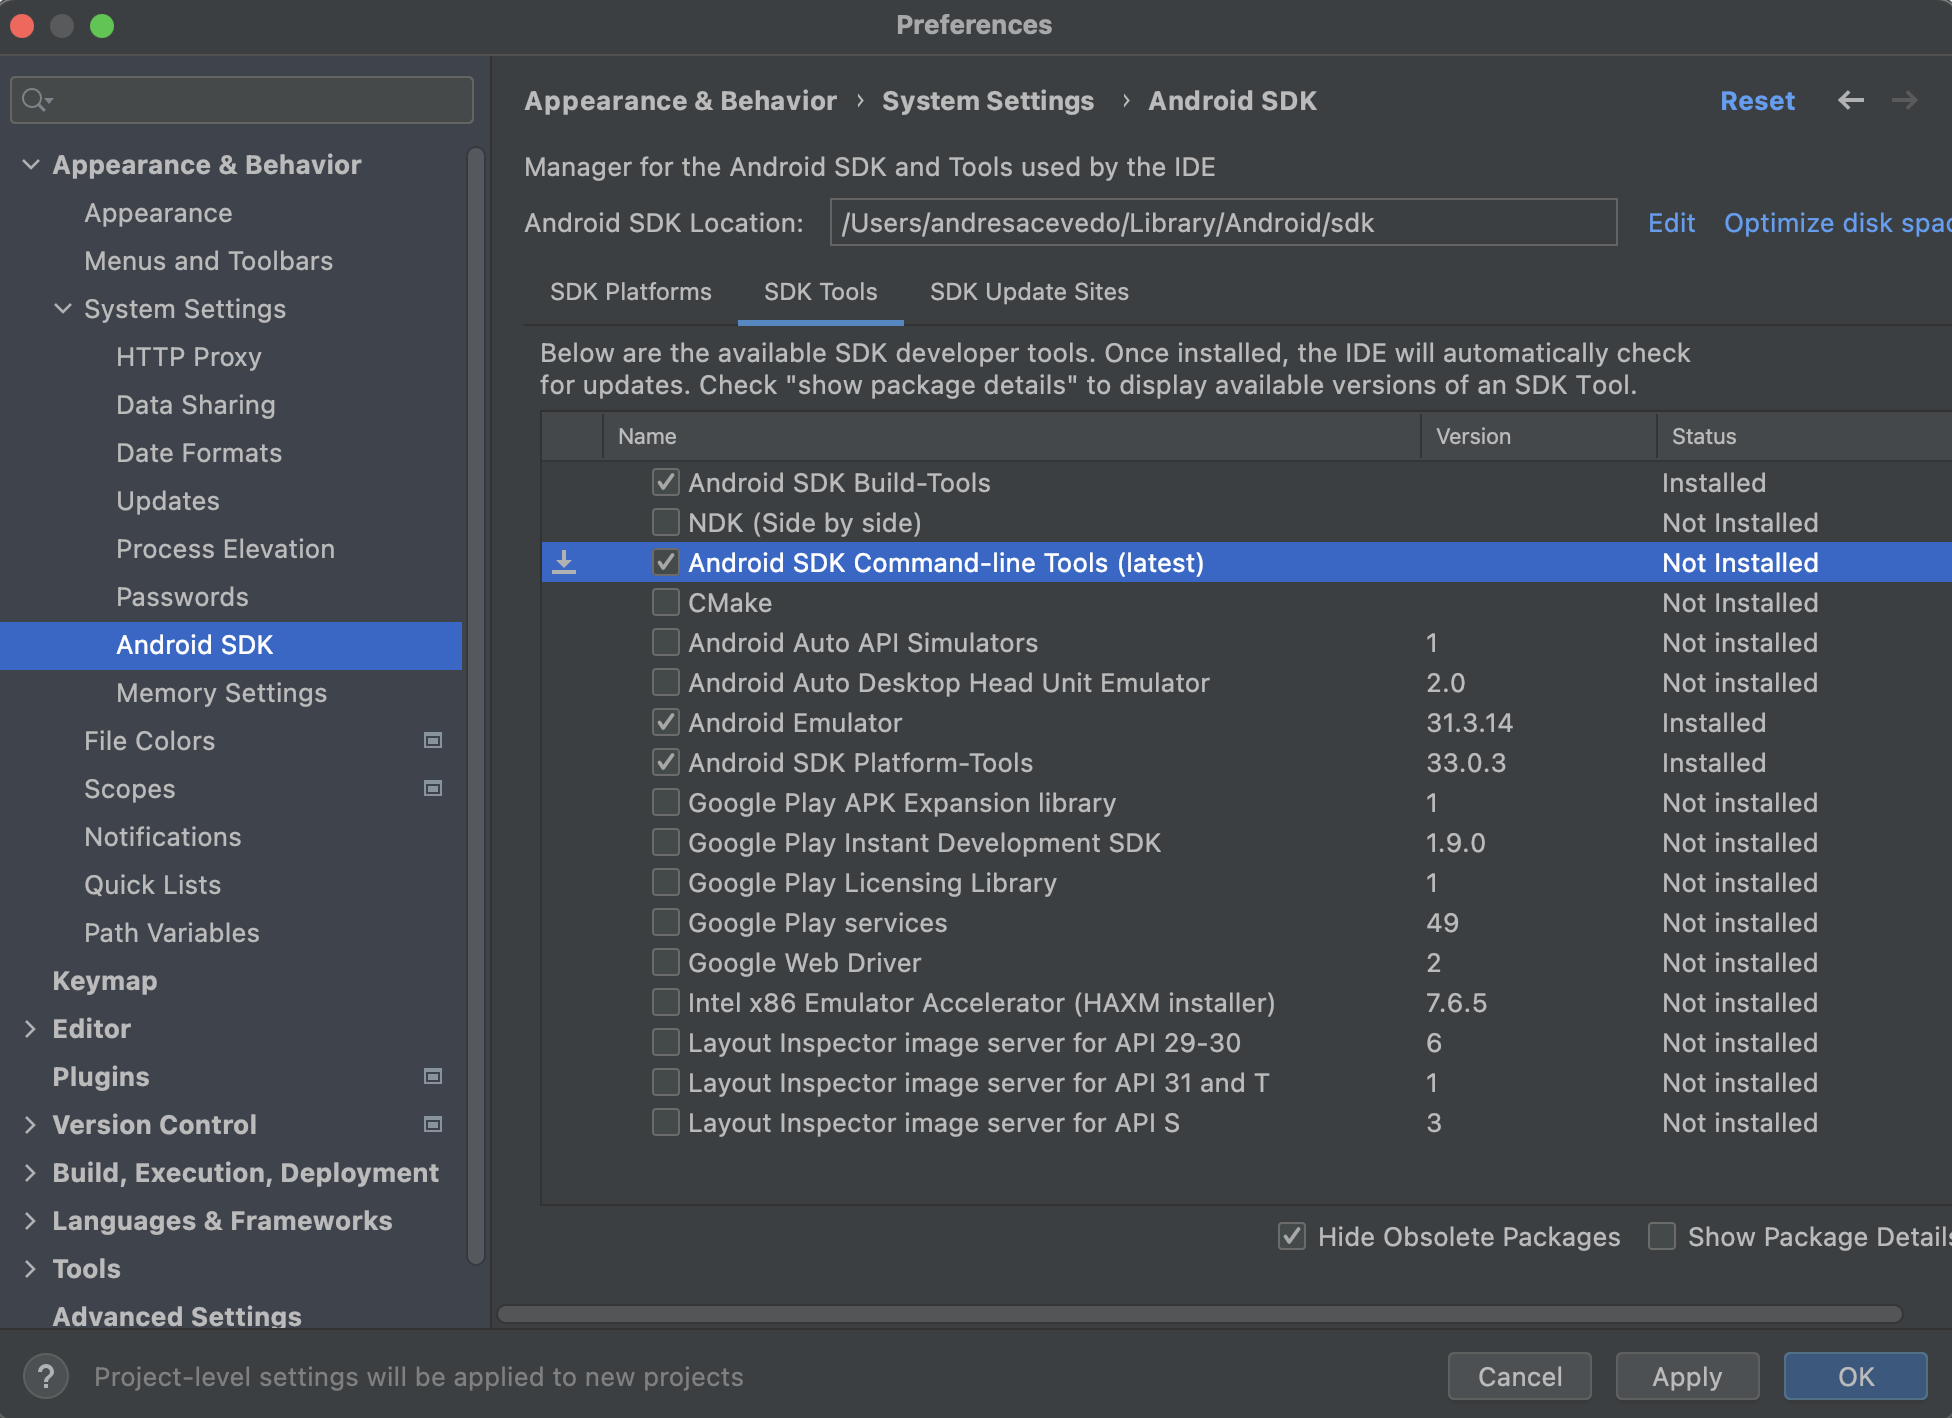
One easy way to install this cmdline-tools is using Android Studio. Go to Settings > Appearance & Behavior > Systems Settings > Android SDK > SDK Tools Tab and select it:
Another problem you might diagnose when executing flutter doctor is a java misconfiguration, for example, I got this:
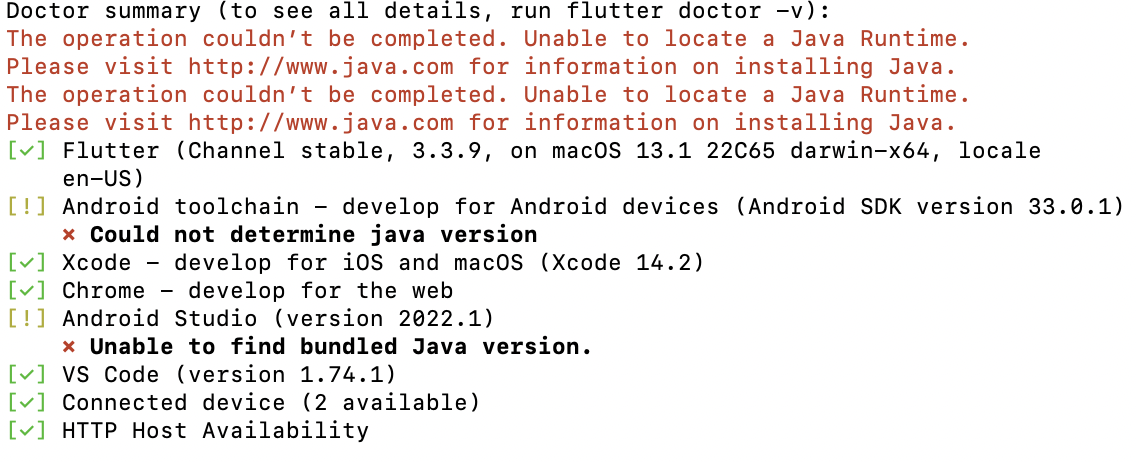
This output can be confusing. It asks us to go to java.com to download Java, but it also says it is Unable to find the bundled Java within Android Studio.
It turns out, recently Android Studio changed the name and version of its bundled java, but this can be easily bypassed by creating a symbolic link. Run the following command on your terminal:
cd \"/Applications/Android Studio.app/Contents\"
and then
ln -s jbr jre
This problem is not exclusive to mac, if you run into it using Linux, this article might be helpful: https://medium.com/@brianmutinda49/unable-to-find-bundled-java-version-flutter-doctor-ubuntu-fix-a754240bdaab
After you set everything up, and when flutter doctor shows no errors, be sure to restart Android Studio before following to the next step.
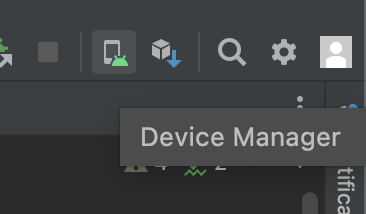
When it reopens, check if the Device Manager panel is visible. If not, you can make it visible by clicking on the following icon:
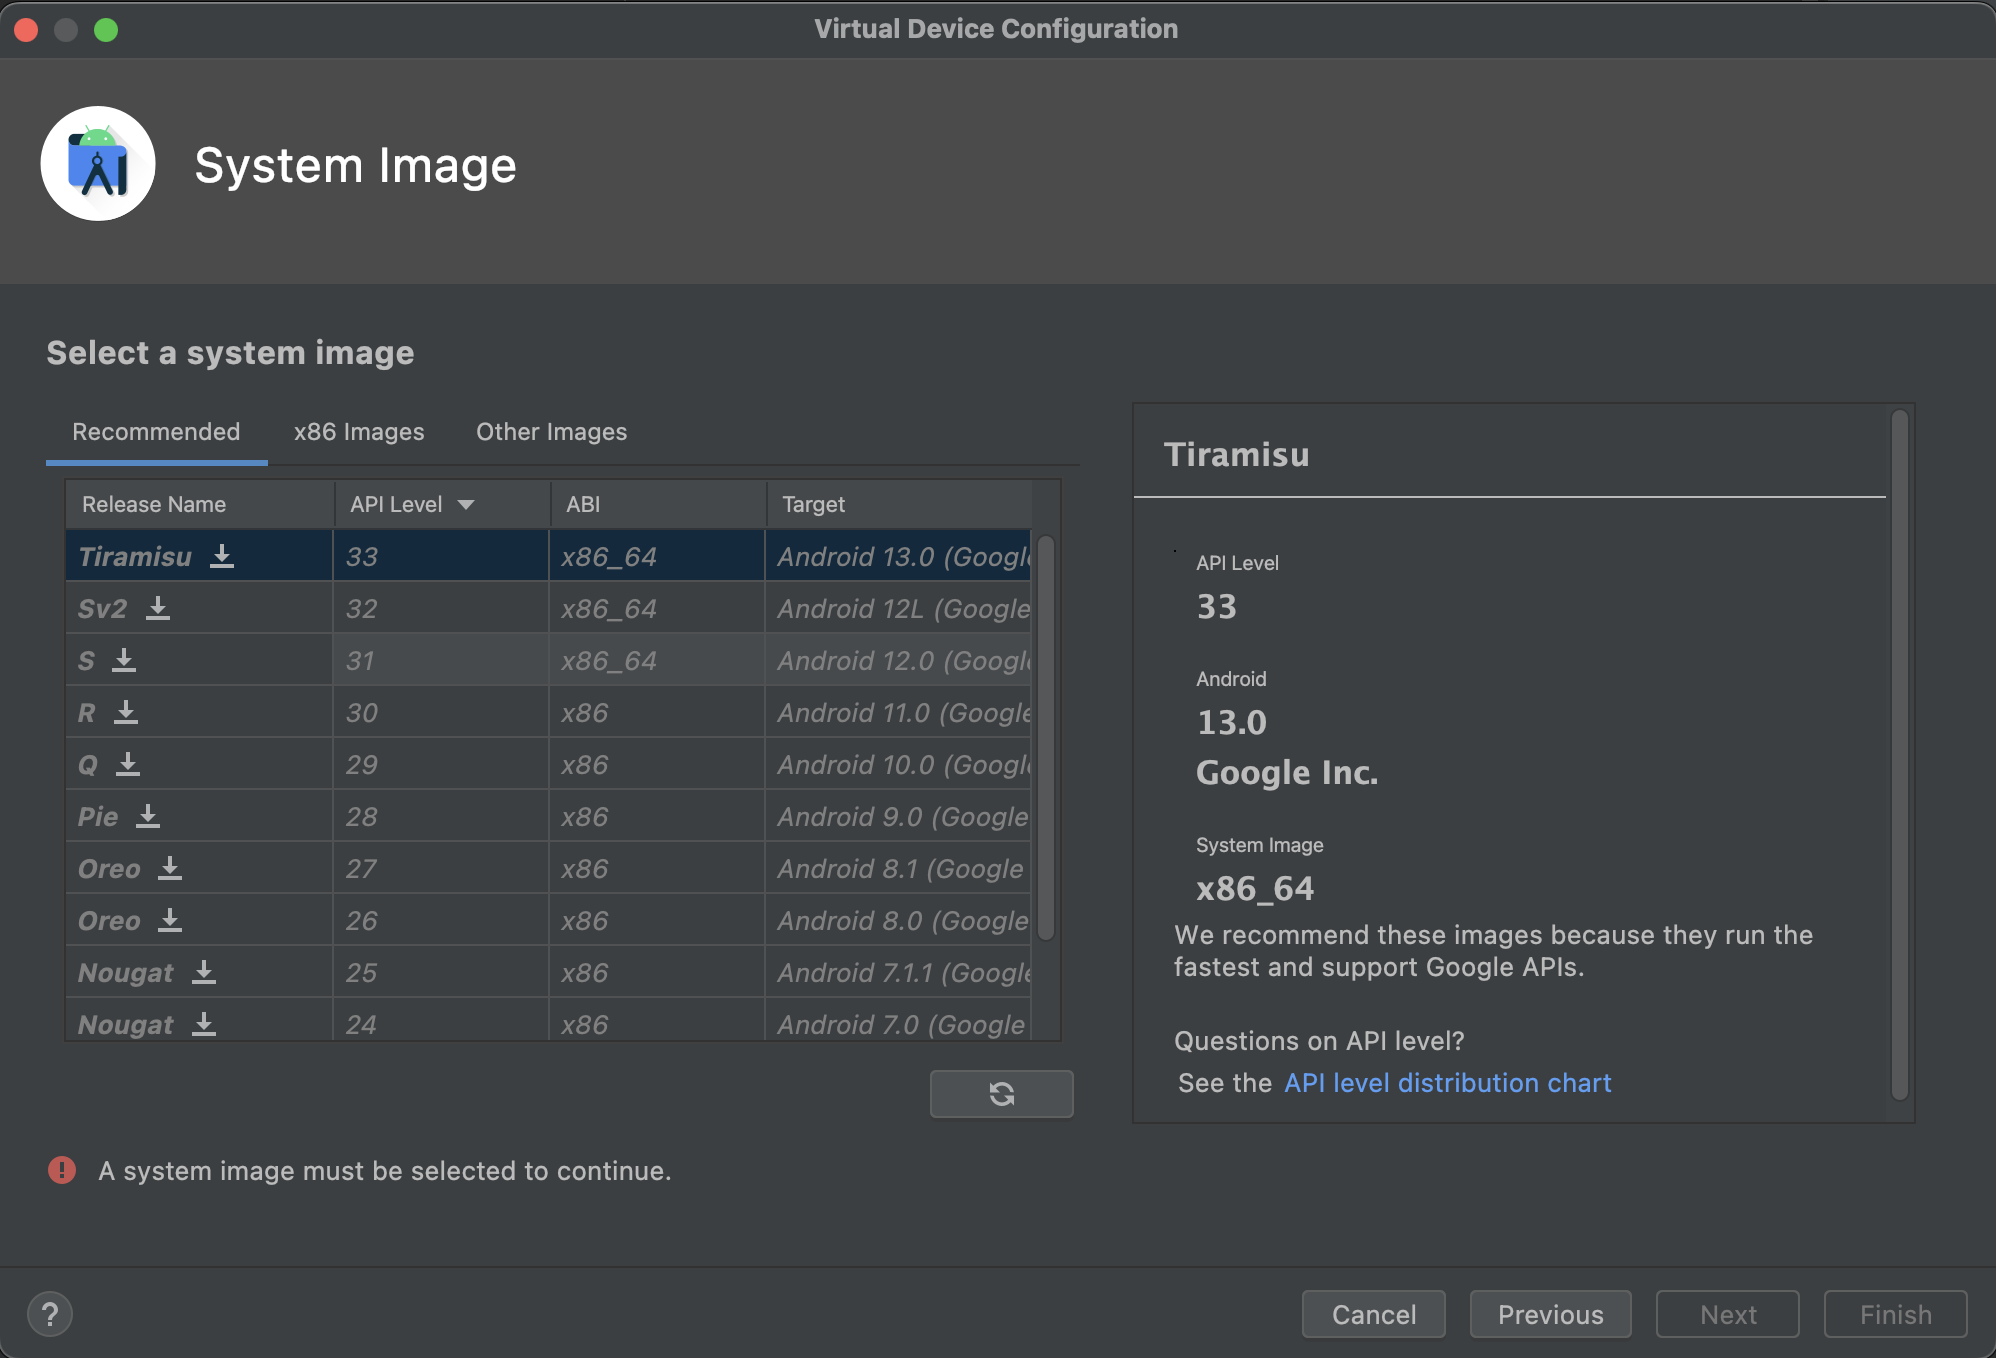
Next, click on: “Create a Device”. There, you can select a device definition that matches some of the most popular Android devices. After that, select and download a System Image for your emulated device:
This can take a while because system images are large. After downloading and installing, launch your new ADV (Android Virtual Device).
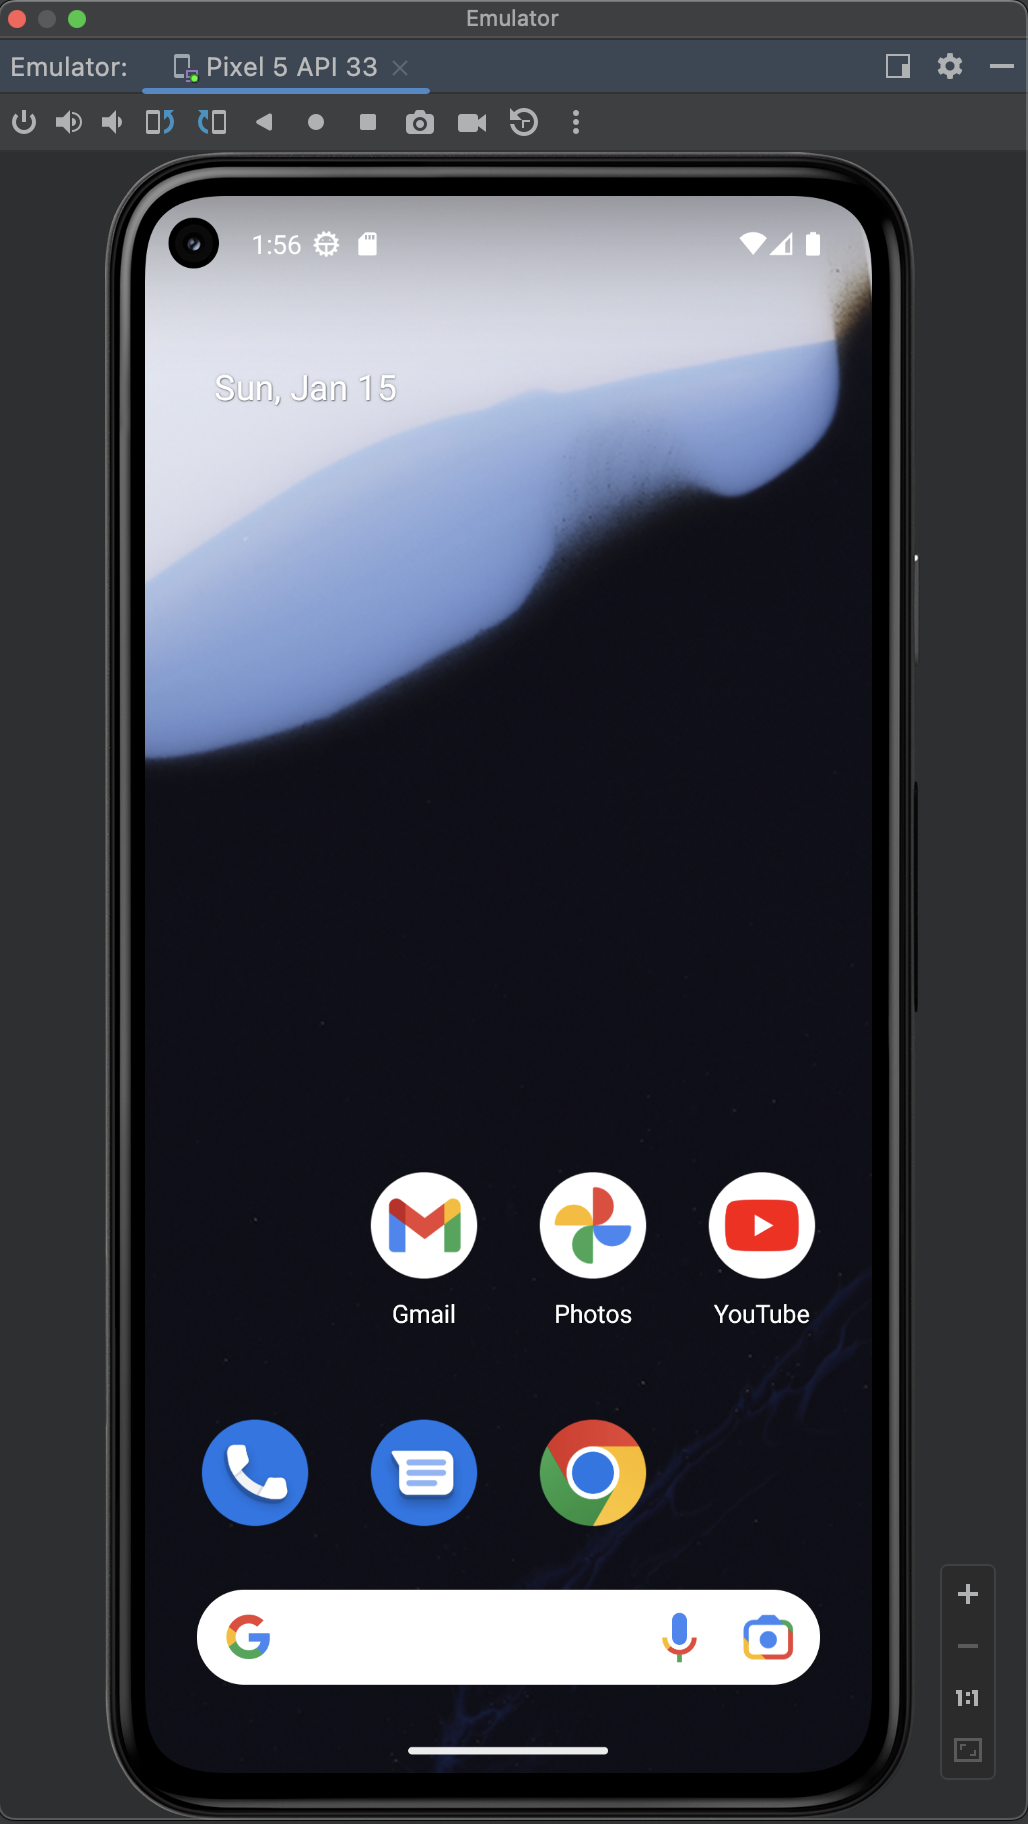
The emulator will launch. If it’s too small, you can undock it and resize it:
With the emulator running, go to the terminal and in the root folder of your flutter project run:
flutter run
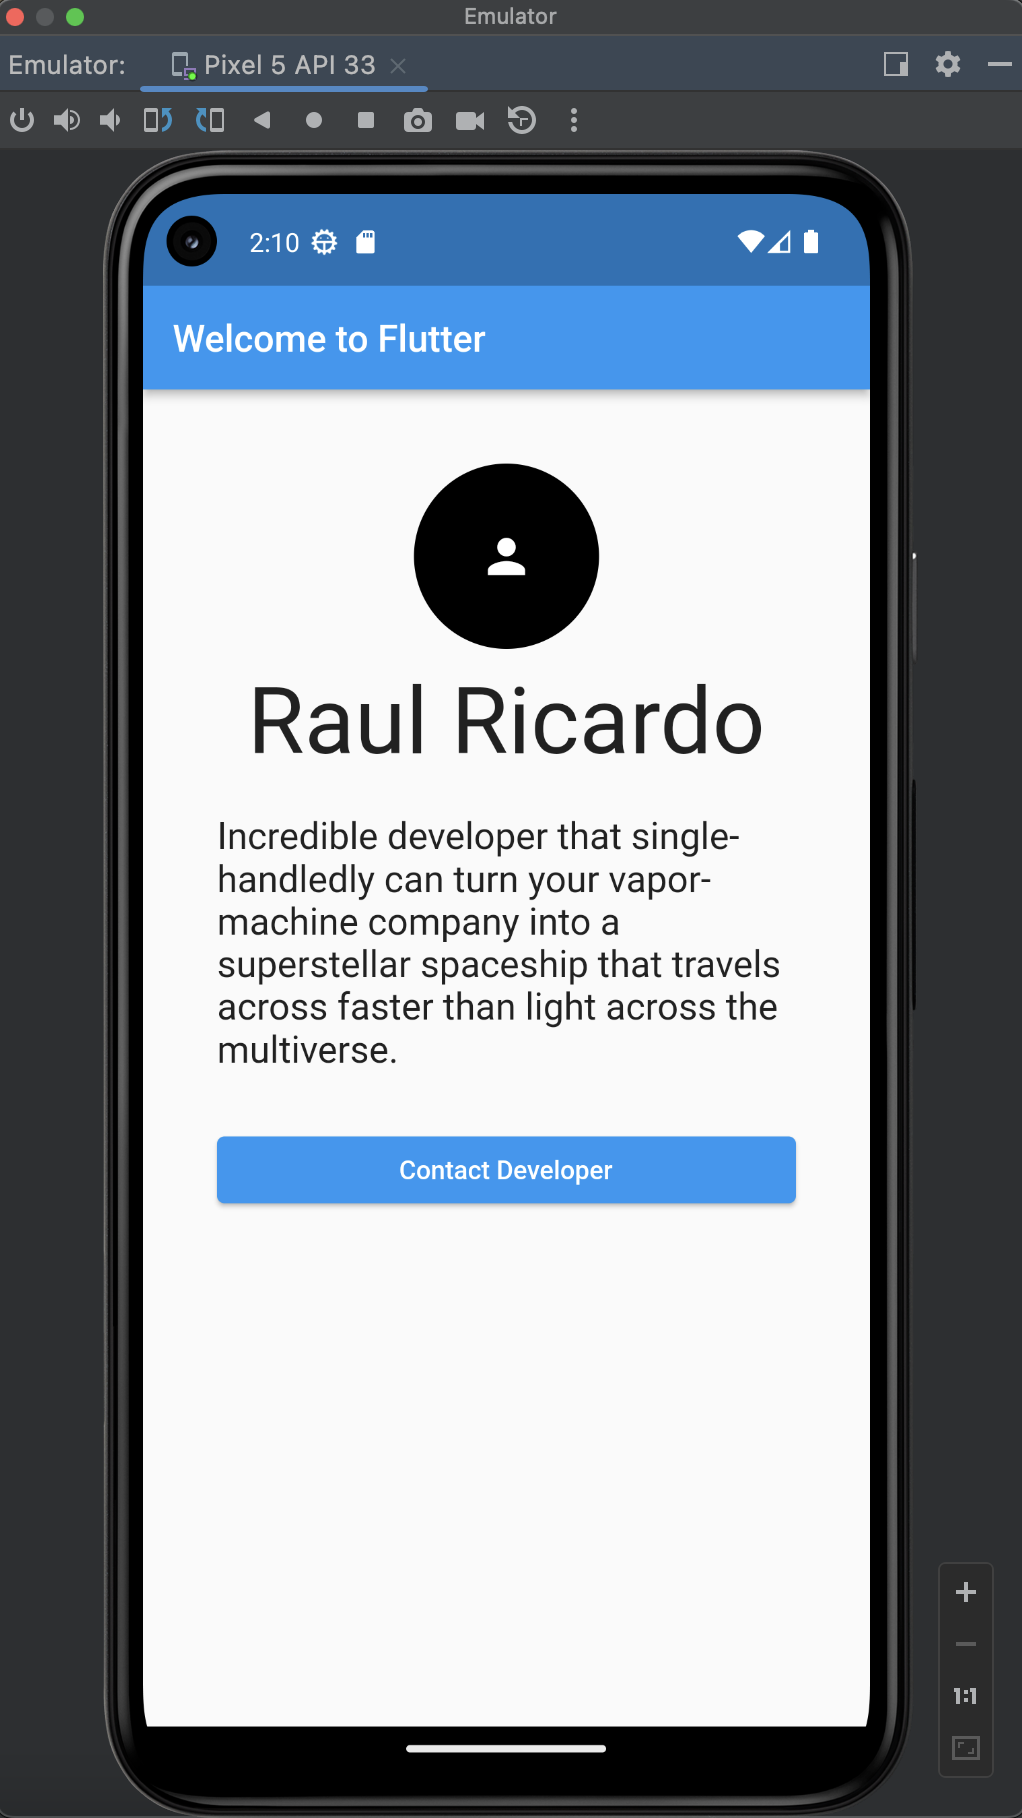
There you go! Your app running on an Android emulator!
Note that instead of executing flutter run you can also execute (or debug) your app with the buttons of the Run toolbar of Android Studio.

Cool, right? Now we are ready to take the ultimate challenge of this “Gentle introduction to flutter”, running it on a physical android device, but before that let's check one of the coolest features of Flutter: “Hot reload”.
It refers to the ability to see your changes play on the emulator almost instantly without having to recompile the whole app, this is something that can’t be done even when doing native development most of the time.
Change one of the texts of your Presentation app, for example, the name of the person, and check how after a few seconds it updates automatically on the emulator.

Running a Flutter project on a Physical Device
Android is not as strict about certificates and code signing as iOS, but you need to make sure to enable Developer options and USB debugging on your testing device. Detailed instructions are available in the Android documentation.
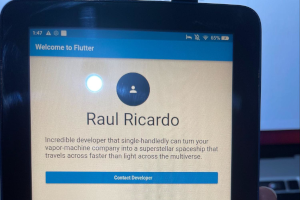
After you enable USB debugging, connect your device to your computer. A warning might appear on the device asking if you allow USB debugging. Tap “Yes” or “Allow”. In my case, I used a kindle fire, this is an interesting android device to test with, because it does not use Google’s services like Play Store, instead, you install the apps using Amazon’s marketplace.
After connecting your device, run the command flutter devices on the root folder of your flutter project and check if your physical device appears.
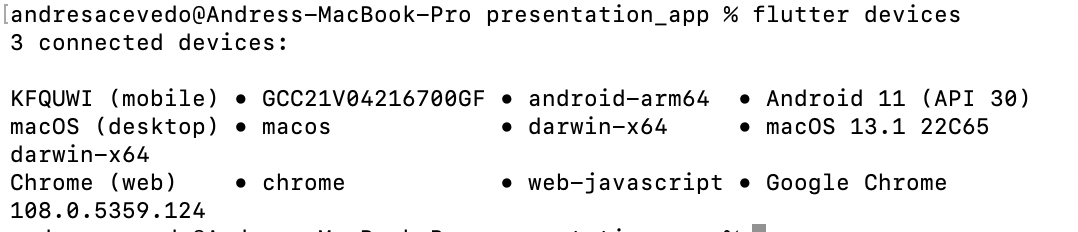
In this case, KFQWI refers to a physical Kindle Fire. If it appears there, then let the show beings by running:
flutter run
The first time you run this command, it will take some minutes, if everything goes well, soon you will have your beloved “Presentation App” running on a physical Android Device.
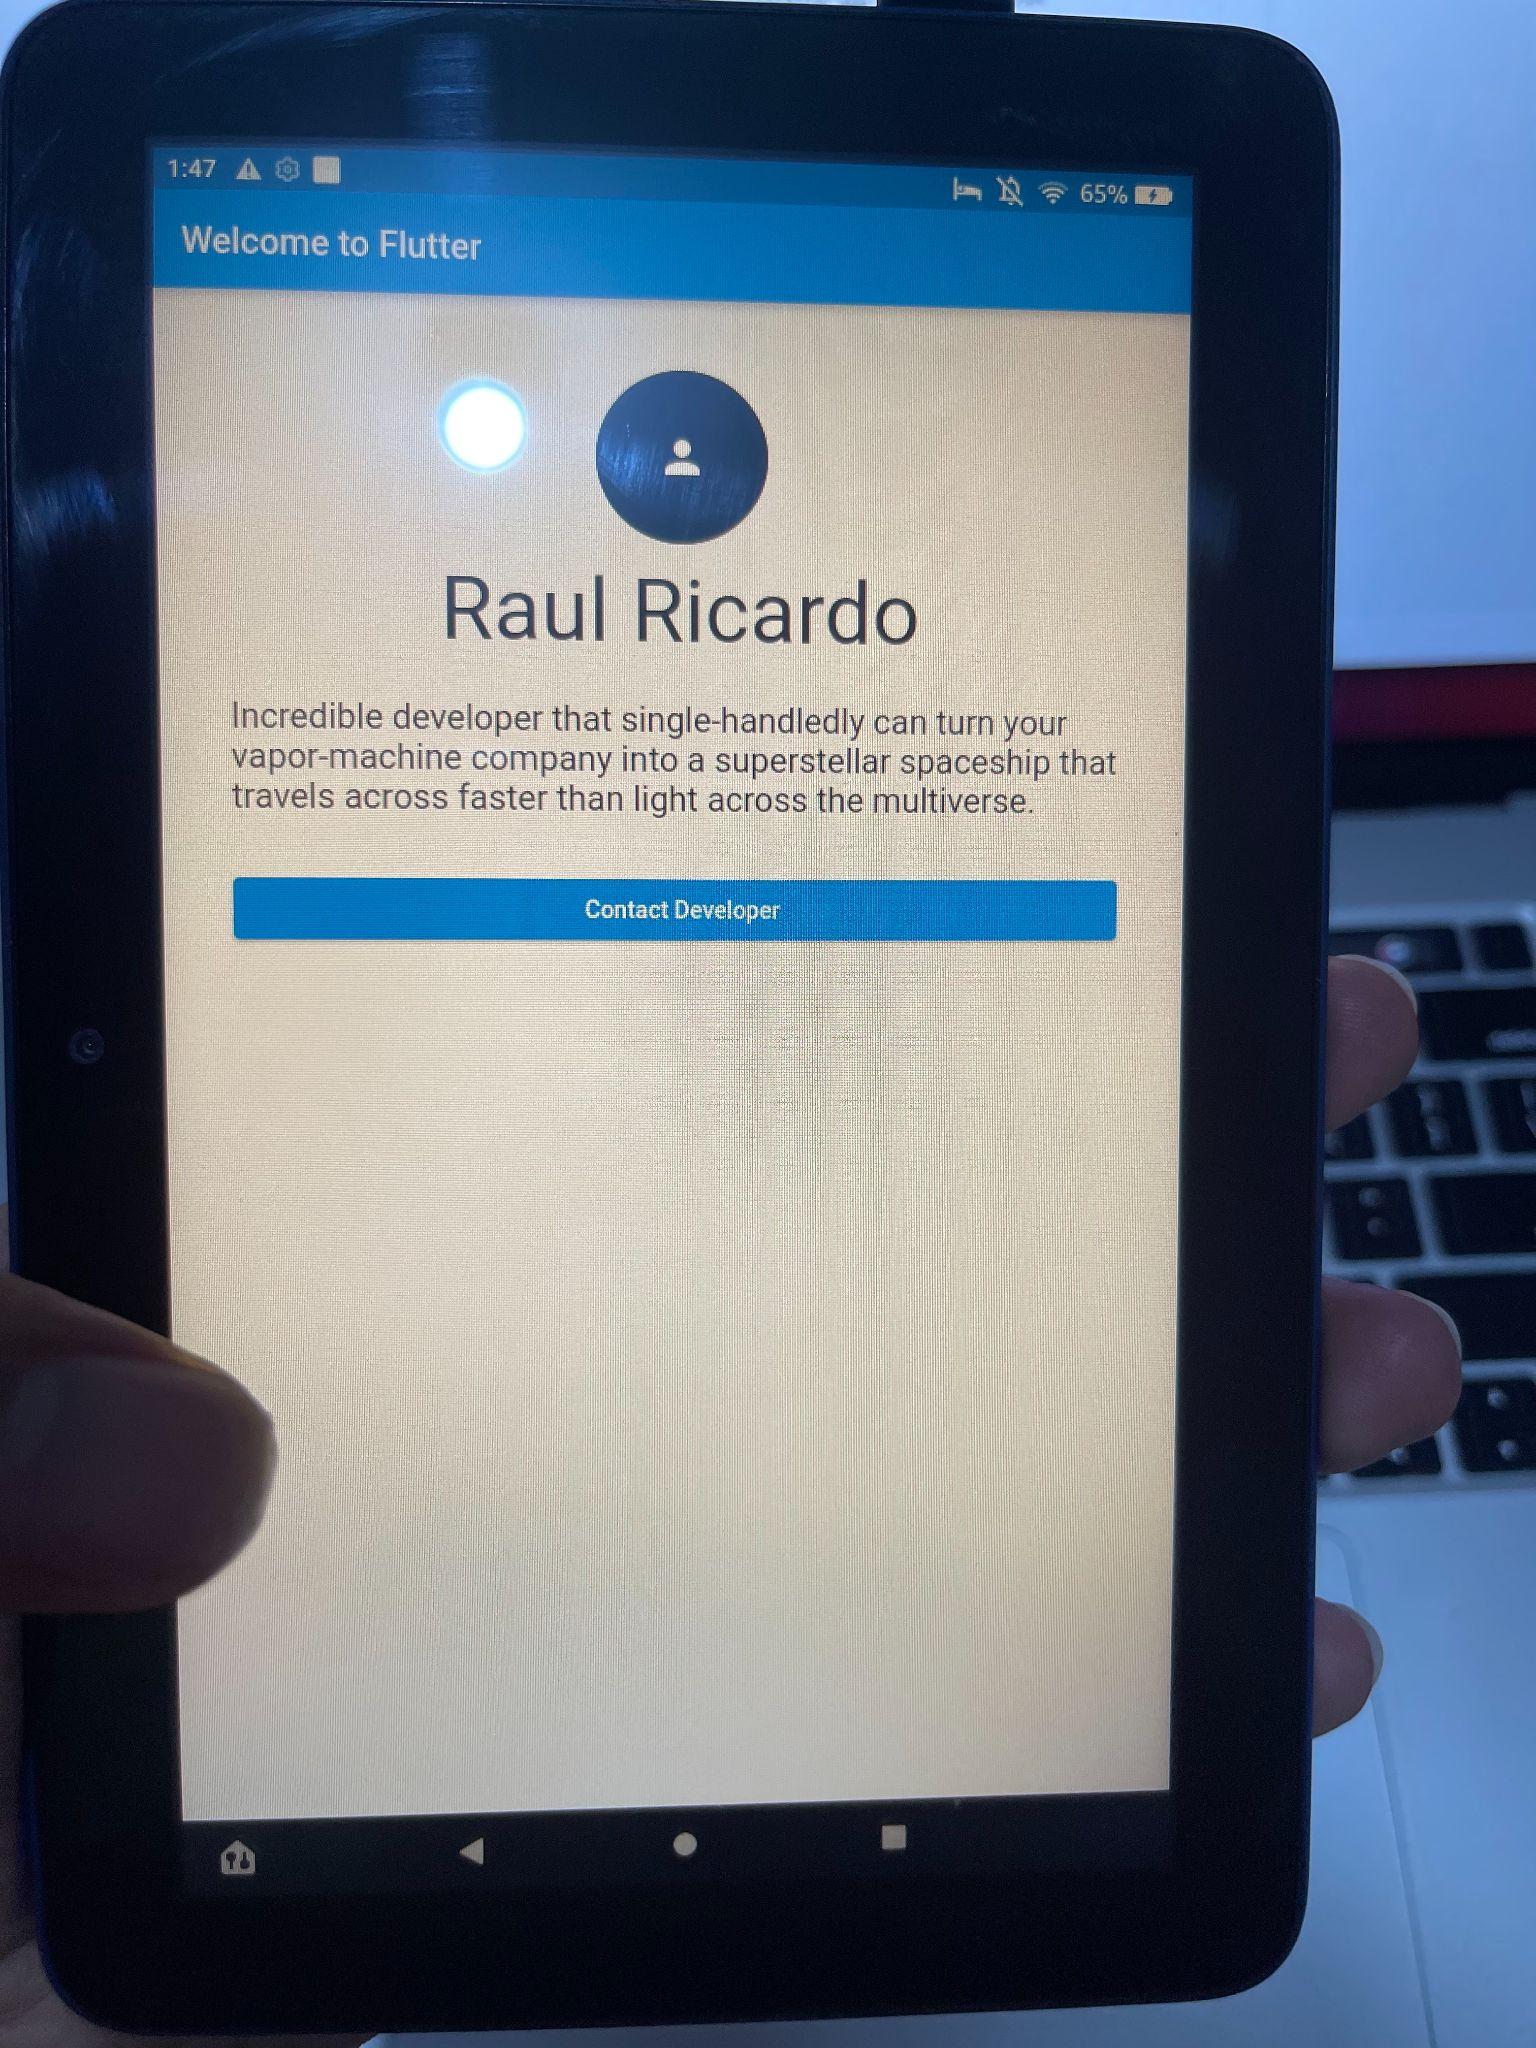
We have executed it on the web, on an iPhone, and on an Android tablet. This is serious cross-platform development! Does anyone have a smart fridge to test?
I hope this “Gentle Introduction to Flutter” series encouraged you to explore more about this fascinating framework that allows you to code natively compiled, multi-platform applications from a single codebase.