
Introduction
Unit Tests are like exercise. We all know how good it is, yet we rarely make time for it. But very much like exercise, once you get hooked on it, you will make it part of your daily routine.
So, in today’s tutorial, we will not limit ourselves to adding some isolated unit tests. Instead, we will test all the layers of an example project that uses Model, View and Presenter layers along with a Networking Layer and other general utilities.
Pre-requisites:
- You are comfortable coding in Swift for the iOS platform.
- You have some understanding of how the MVP pattern works.
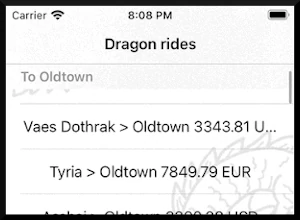
First, let’s download our starter project. It is an app for a fascinating world where you can ride dragons. It consumes an endpoint and shows the results in a list that we can tap to go to a screen with details about the ride.
Nobody wants an app that by mistake takes you to enemy territory. So we will try to make sure our app works fine by adding Unit Tests. We will start from the bottom up by testing our networking layer first and then advancing towards the Presenter and View Layers. We won’t test each layer in detail, but once you learn the basics, it will be easier for you to create more tests. So let’s begin!
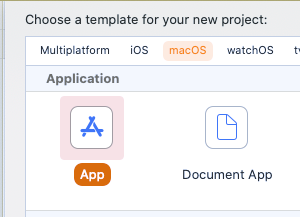
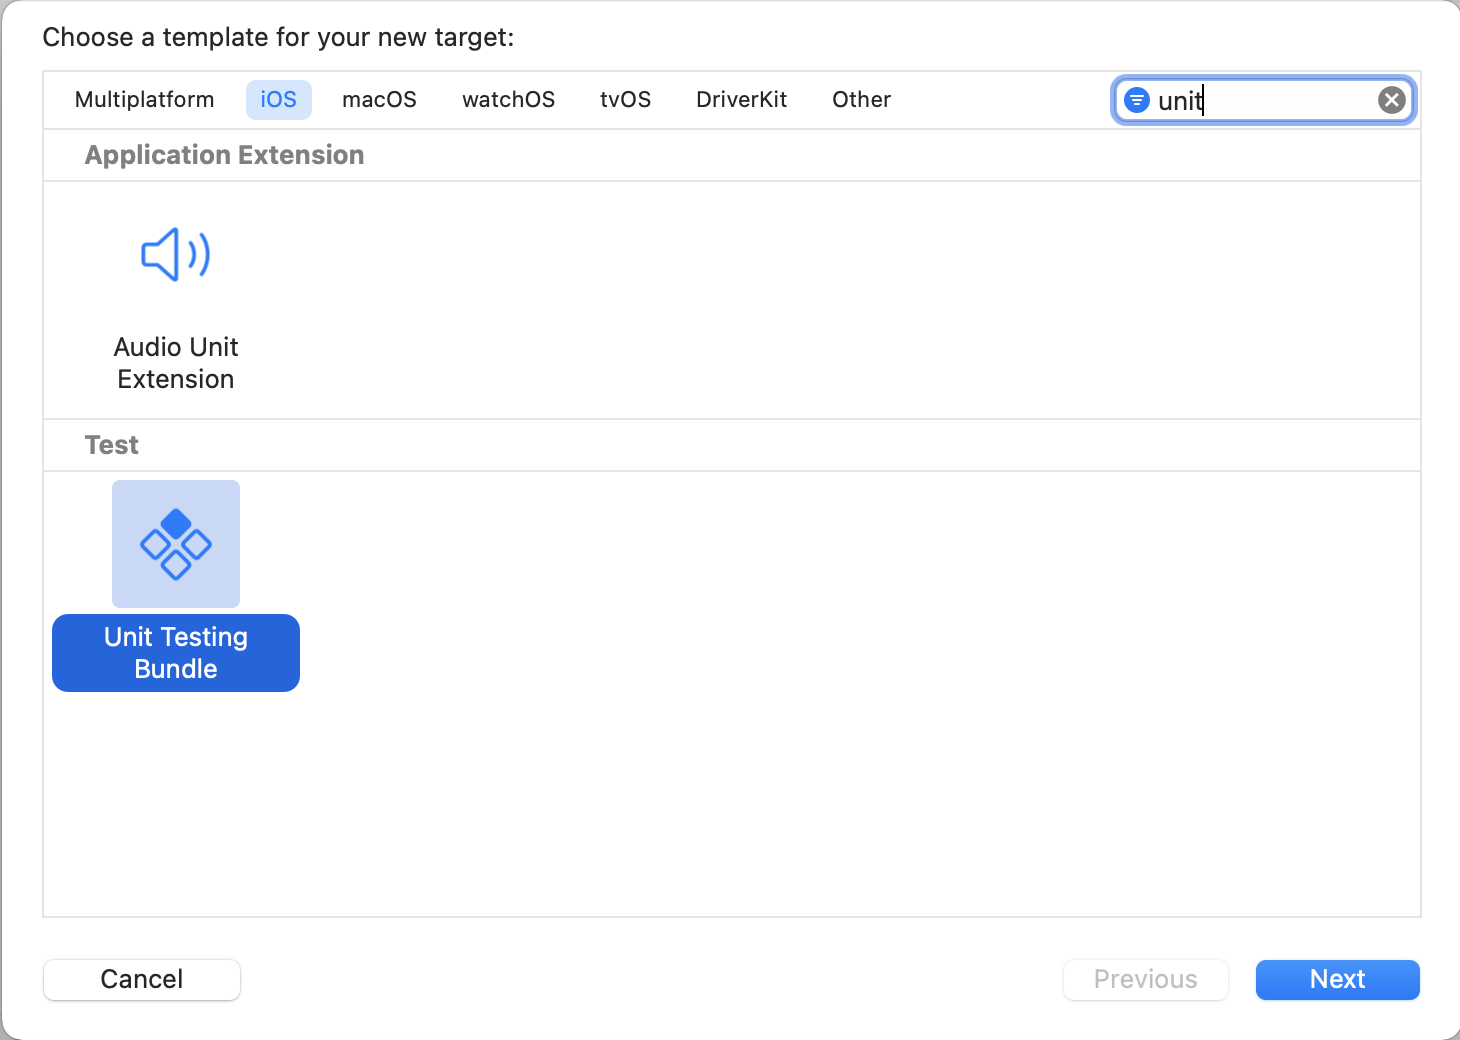
XCode asks us if we want to add Unit Tests when creating a new project, but for didactic purposes, our starter project does not have them (or the related Target). No worries! Adding that is easy: File -> New -> Target -> iOS Unit Testing bundle.

On our project navigator, we can see that we got a new group named Dragon RidersTests. By default, XCode adds a test class for us. We do not need it right now, so it is better to delete it.
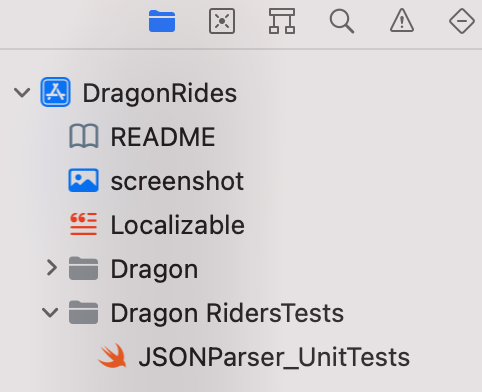
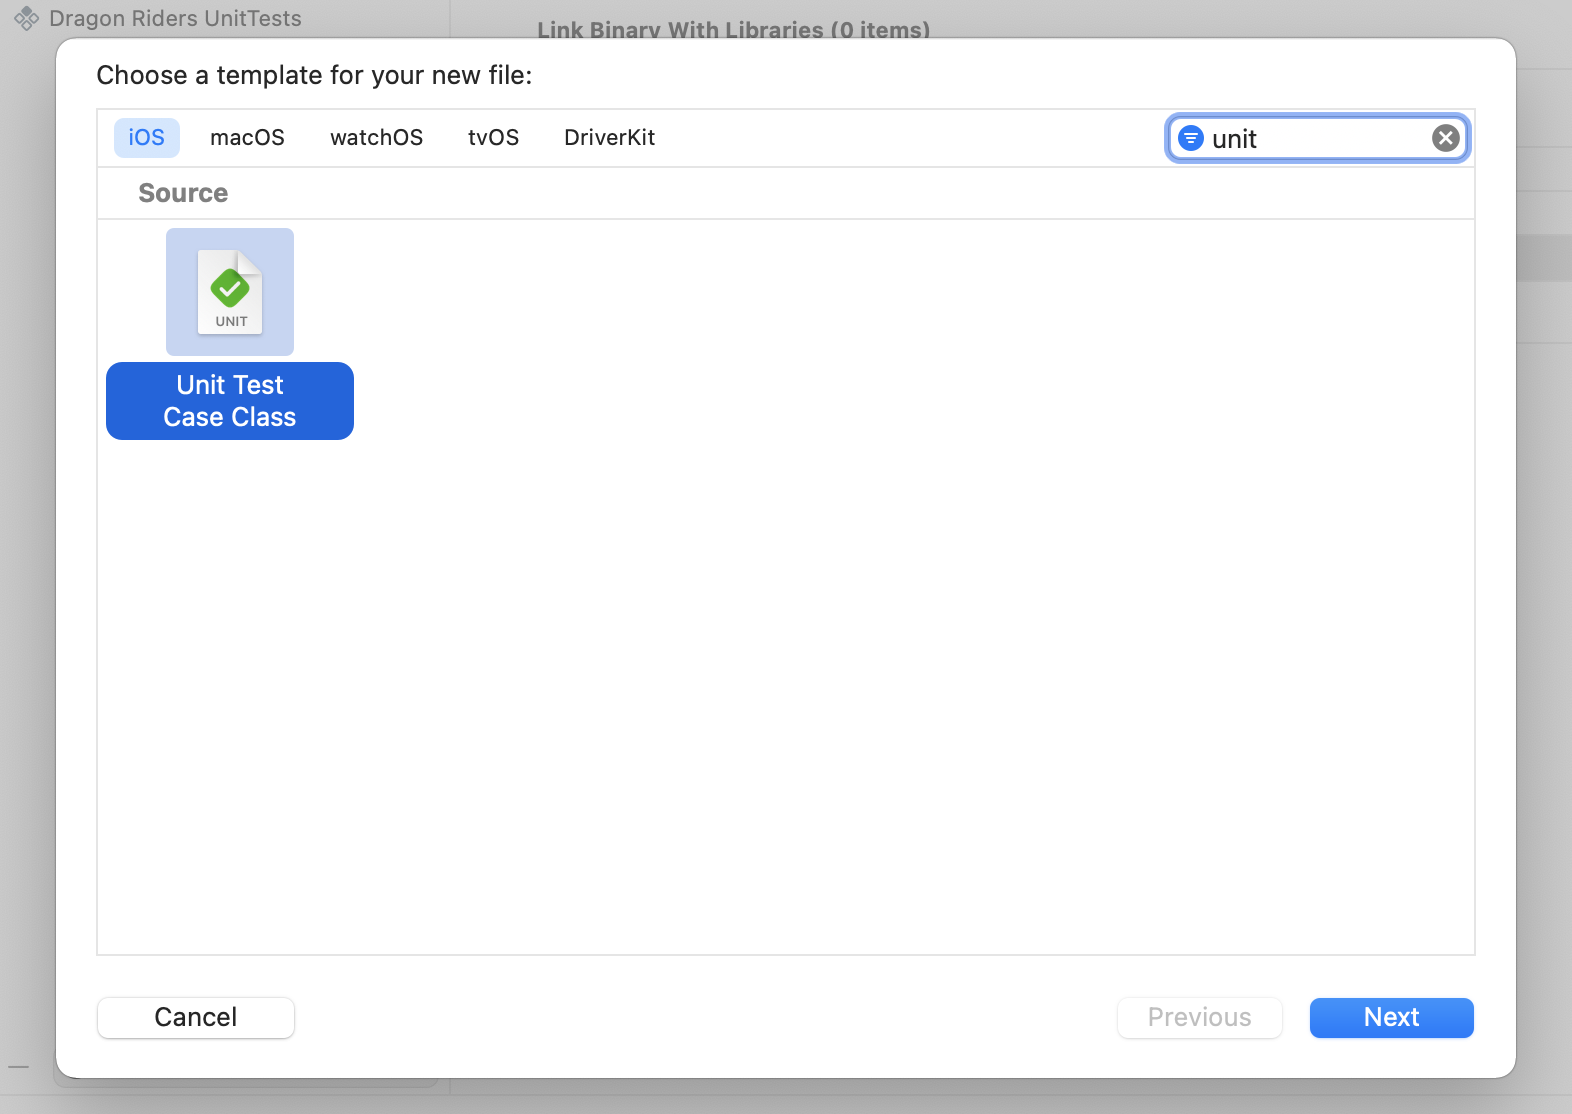
Now we can create our first Unit Test inside that group by clicking File -> New -> File -> Unit Test Case Class. Let us call it JSONParser_UnitTests.swift
Our JSONParser class does two things: first, it uses native URLSession to fetch a JSON from the URL that the DragonsTarget enum provides. And second, it parses this JSON to one of our defined models.
In an MVP app, some people would argue this JSON_Parser is an external module, while others might say it is part of the Model layer. The more meaningful Unit Tests we can add, the more we can rely on that our app is behaving correctly.
When writing a unit test, we have a Subject Under Test. This is the module we are testing. Here, we can define it as a class property in the following way:

That is because JSONParser belongs to the target of our project, not to the target of the Unit Tests, so we need to use a special type of import to import our whole project target.
@testable import Dragon_Riders
We could initialize our subject inside the setUpWithError method, but if we do that, it will use the default URLSession.shared object which is used to do actual HTTP Requests. Unit tests should be simple and as independent as possible, so it is better to use some hard-coded results for our tests.
That’s when Mocks come into play. In the book [https://www.manning.com/books/the-art-of-unit-testing-second-edition](The Art of Unit Testing), mocks are described as a fake object that helps decide whether a test failed or passed by verifying whether an interaction with an object occurred.
We can create a mocked URLSession object that allows us to check that the right methods of URLSession are being called without having to do real HTTP requests. For that, we can create a group called Mocks inside Dragon RidersTests, and there create a new Swift class named MockURLSession.swift with the following content:
import Foundation
@testable import Dragon_Riders

class MockURLSession: URLSessionProtocol {
    private (set) var lastURL: URL?
    private (set) var nextDataTask: MockURLSessionDataTask!

    func dataTaskWithUrl(with url: URL, completionHandler: @escaping DataTaskResult) -> URLSessionDataTaskProtocol {
        lastURL = url
        nextDataTask = MockURLSessionDataTask()
        return nextDataTask
    }

}

class MockURLSessionDataTask: URLSessionDataTaskProtocol {
    private (set) var resumeWasCalled = false

    func resume() {
        resumeWasCalled = true
    }
}
As you can see, all we are doing here is setting a URL, and returning a SessionDataTask that allows us to check if its resume function was called. As you can see, mocking is not limited to the classes we created, but also is useful for system-defined ones.
Now we can instantiate our SUT in JSONParser_UnitTests.swift:
import XCTest
@testable import Dragon_Riders
class JSONParser_UnitTests: XCTestCase {
var subject: JSONParser!
var session: MockURLSession!
override func setUpWithError() throws {
super.setUp()
session = MockURLSession()
subject = JSONParser(session: session)
}
…
Let us create our first test. It has to start with the name “test” for XCode to identify it correctly:
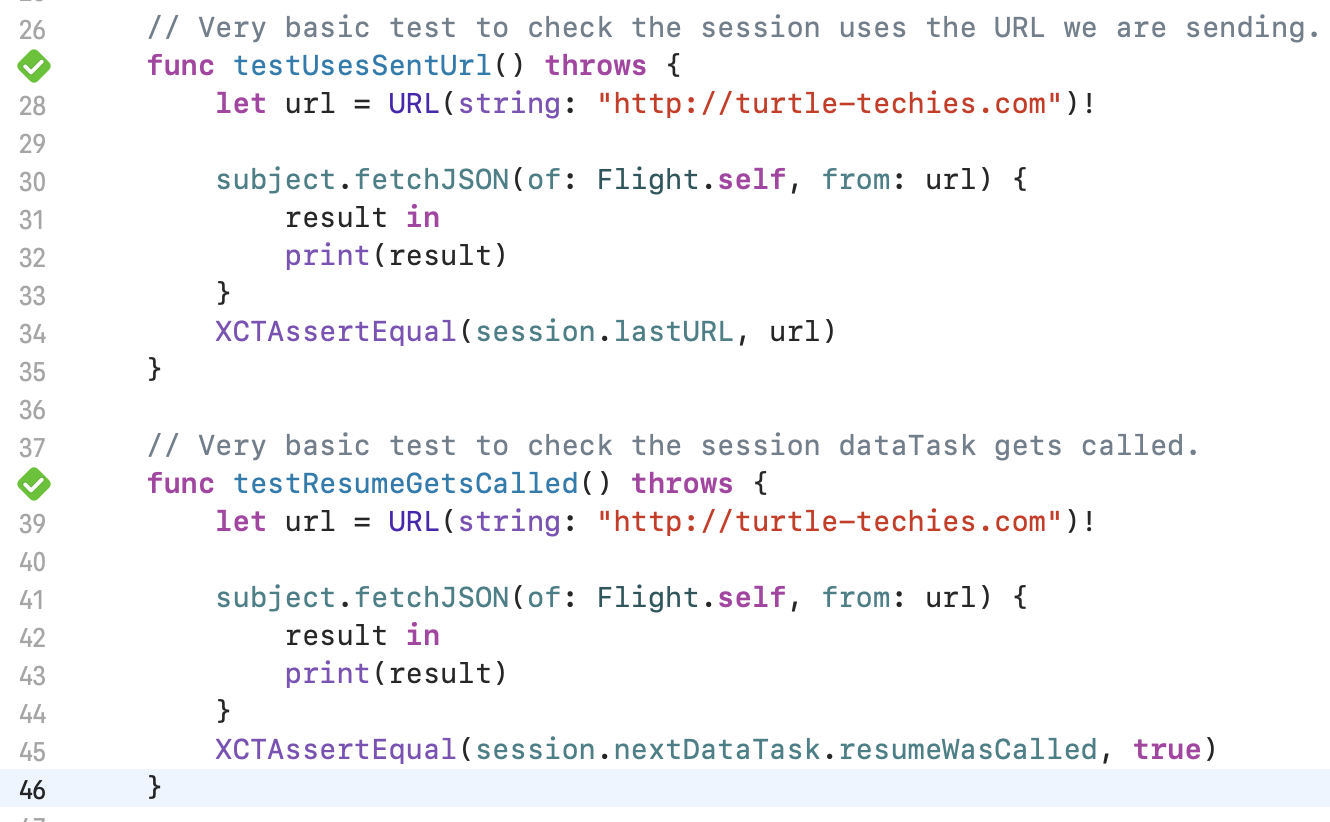
func testUsesSentUrl() throws {
let url = URL(string: "http://turtle-techies.com")!
subject.fetchJSON(of: Flight.self, from: url) {
result in
print(result)
}
XCTAssertEqual(session.lastURL, url)
}
This test tries to fetch a Flight from a URL by calling the fetchJSON method, it does not matter what URL we use here, because we are not actually doing the Http request, we are just checking that the mock session object receives the same URL we sent when calling fetchJSON.
This might seem very simple, but as a rule of thumb, Unit Tests should be as simple as possible. We don’t want to create intricate logic in our tests to the point that they become buggy. Also, we should try to limit any external dependencies like authorization services, database queries, or HTTP requests. We are not doing integration or E2E testing, so we should try to isolate our subject under test as much as possible using simple and predictable dependencies.
Another simple test we can create is:
// Basic test to check the session dataTask gets called.
    func testResumeGetsCalled() throws {
        let url = URL(string: "http://turtle-techies.com")!

        subject.fetchJSON(of: Flight.self, from: url) {
            result in
            print(result)
        }
        XCTAssertEqual(session.nextDataTask.resumeWasCalled, true)
    }
Here we are testing the same method (fetchJSON), but we are checking a different condition (that the resume method of the returned data task was called). There are no fixed rules about how many tests you should write for each method, or about what conditions you should check in each test. What I recommend is thinking about what possible errors could happen when the code is modified, and trying to catch those errors with unit tests to keep the correctness of our app.
That is one reason Unit Testing could be considered art: Writing them depends a lot on the intuition and instincts of the author and there are no deterministic rules about what to test or how to do it. This differs from a set of functional requirements that you can clearly check if met or not.
To check if our tests passed, we can press Cmd + U or click Product>Test. If everything goes fine, you should see something similar to:
Congratulations! Your app has some Unit Tests now! And not only that, but they are passing, thus showing that your app presumably is working as it should.
If you want to download the source code at this point of the tutorial, you can do it here: https://github.com/mran3/UnitTestingMVP/releases/tag/End-of-Part1
In the second part of this tutorial, we will continue writing some tests for our MVP application. Specifically, we will test the presenter and the view controller of our app.